얼마전 쓴 글이 정리도 잘 안되고 너무 커서 자르고 정리해서 다시 올립니다.
- https://teamsmiley.github.io/2020/09/23/ionic-ci-cd-01-gitlab-runner/
- https://teamsmiley.github.io/2020/09/23/ionic-ci-cd-02-ios/
- https://teamsmiley.github.io/2020/09/23/ionic-ci-cd-03-android/
ionic ci/cd - android
android app 은 2가지 타입이 있다. 우리는 abb를 사용한다.
- apk :
- abb :
macbook에 android studio 를 설치해서 https://developer.android.com/studio 테스트하고 여기에 gitlab-runner를 실행할 예정인다.
java 설치
https://www.oracle.com/java/technologies/javase-downloads.html
11버전이 lts니 그걸로 macOS Installer 를 설치
key store (upload key)
생성
-
android studio
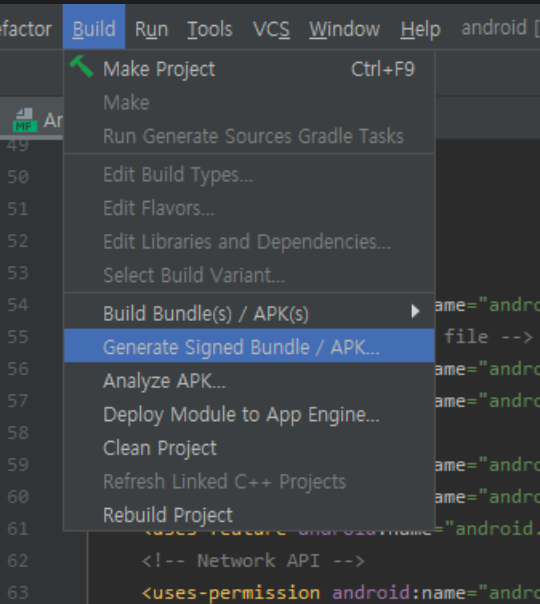
사용하는 옵션을 선택하고
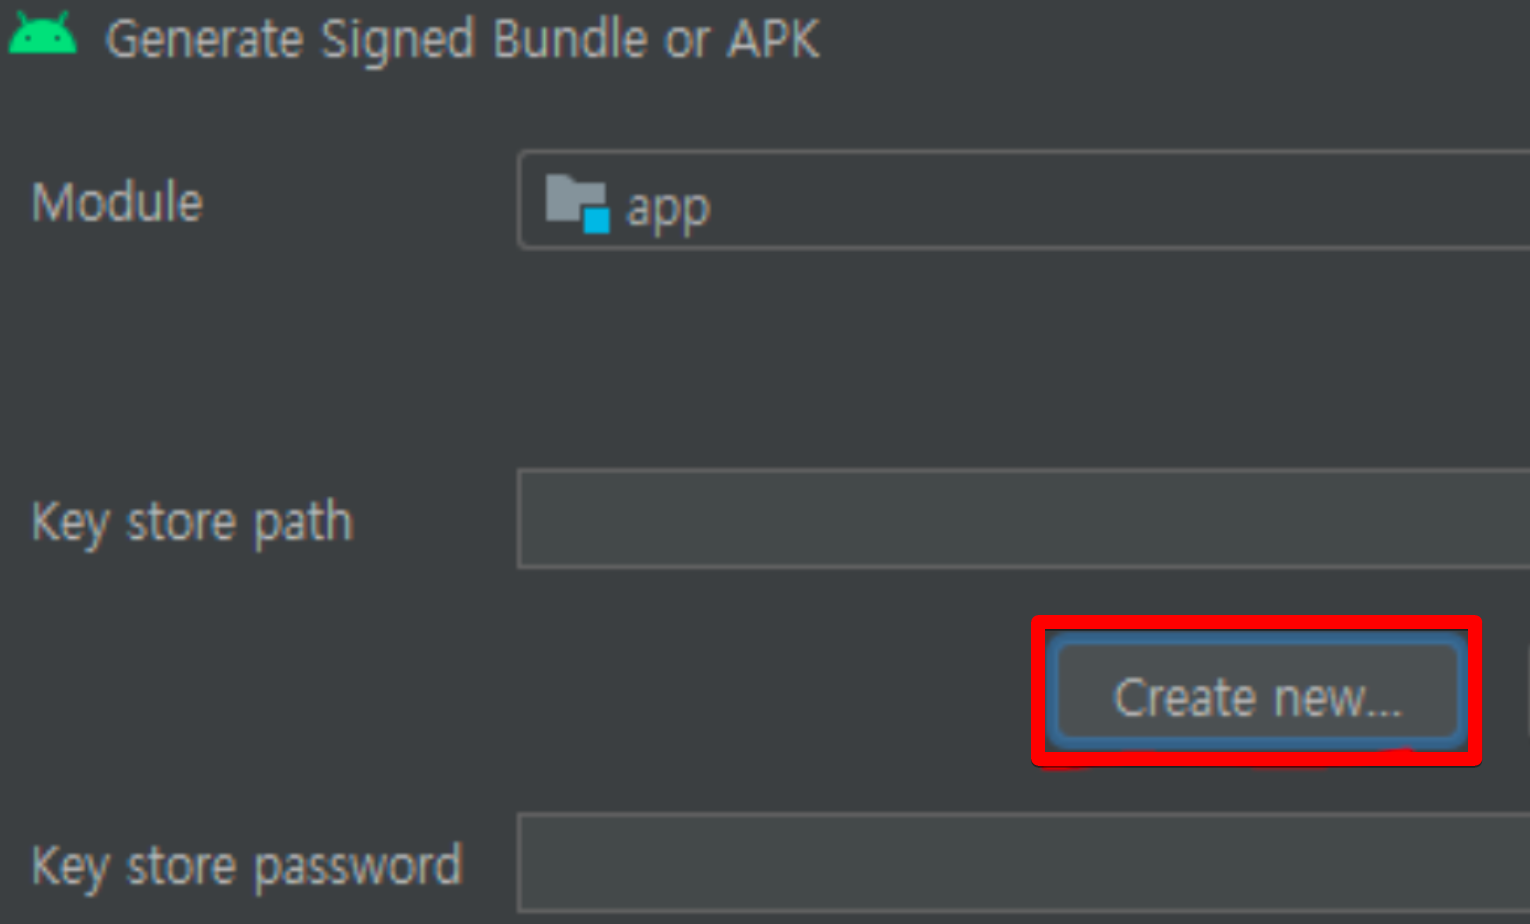
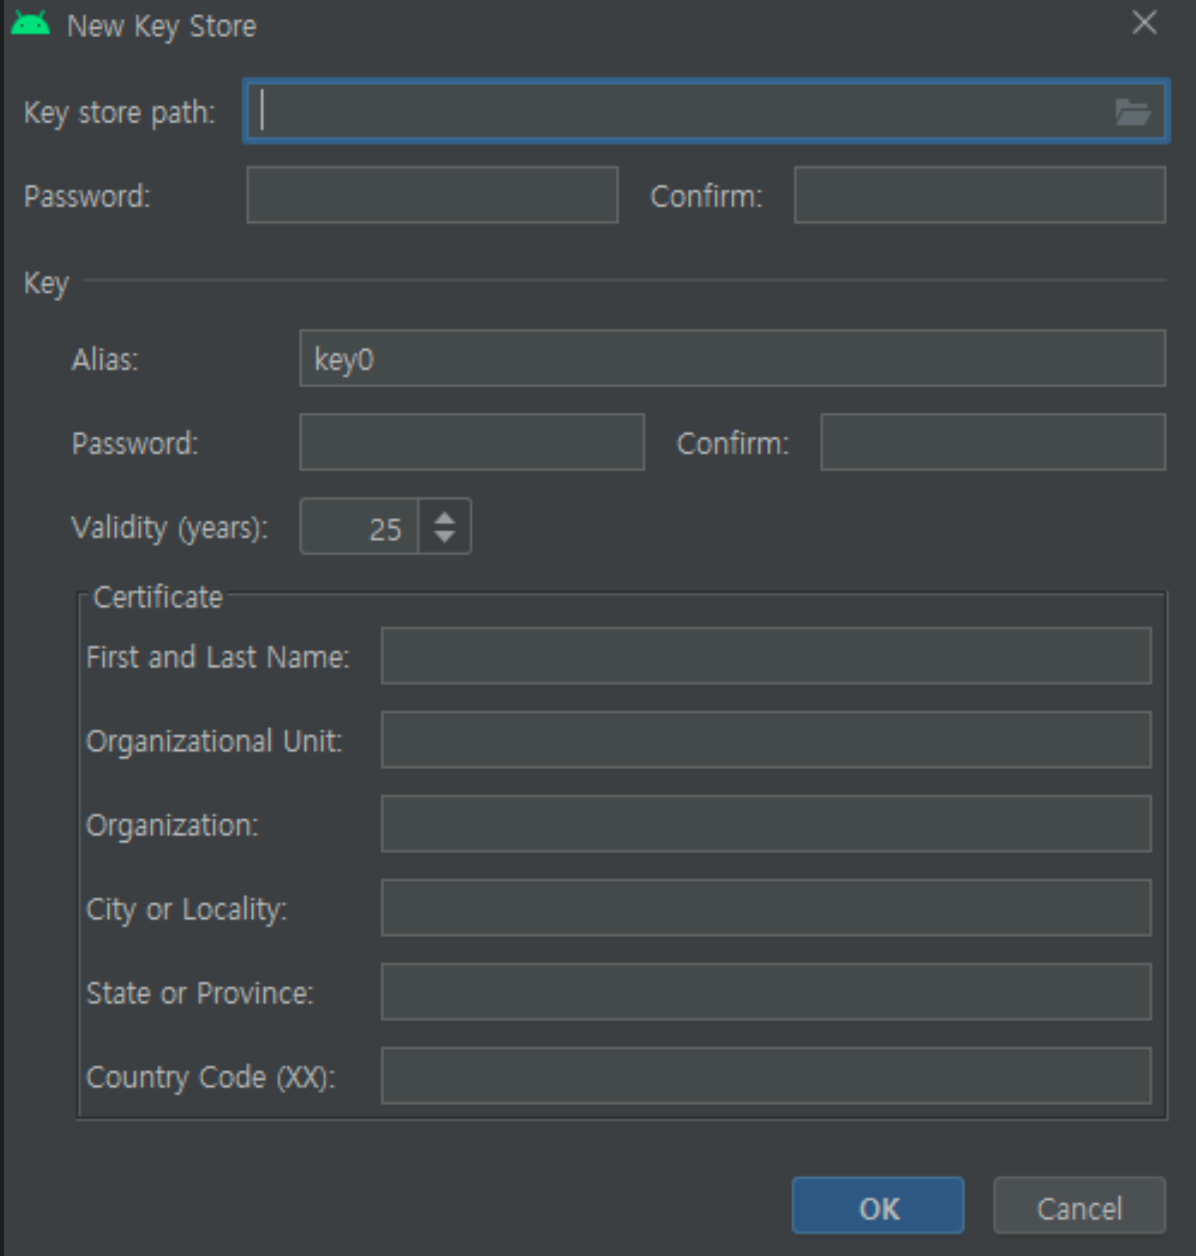
정보를 다 넣고 저장하면 키가 만들어진다.
-
command
keytool -genkey \
  - keystore release.jks \
  - keyalg RSA \
  - keysize 2048 -validity 10000 \
  - storepass URPASS \
  - alias alias1 \
  - keypass URPASS \
  - dname "CN=www.pickeatup.net, OU=ID, O=Rendercore Lab Inc, C=US" \
  - noprompt
Play Encrypt Private Key
생성
-
android studio
apk나 Android bundle을 생성하면서 업로드 키를 가지고 pepk를 생성
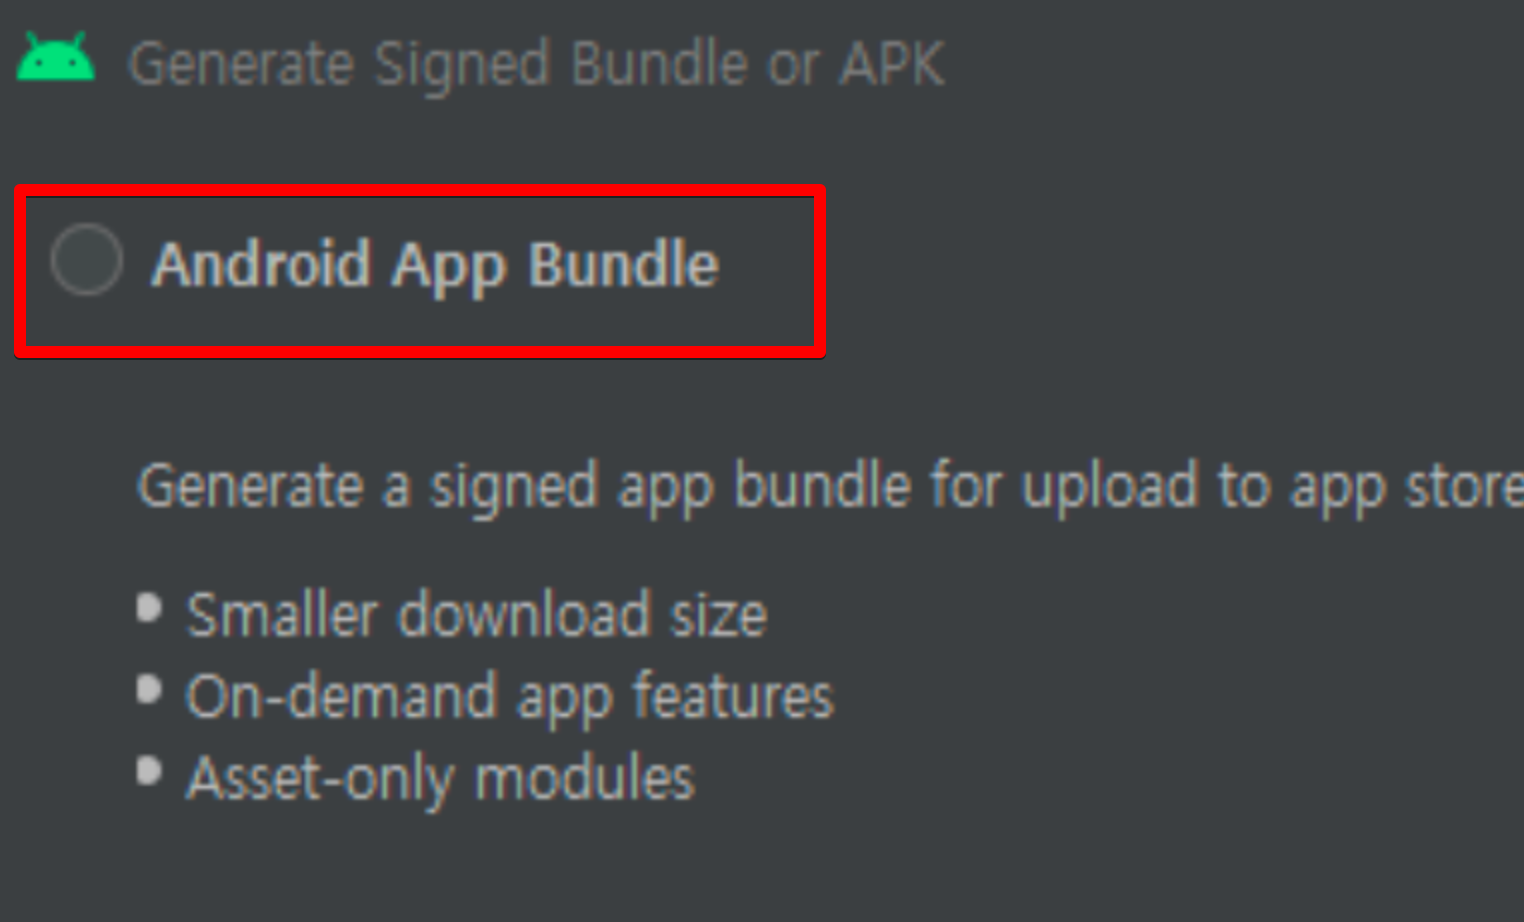
Android app bundle
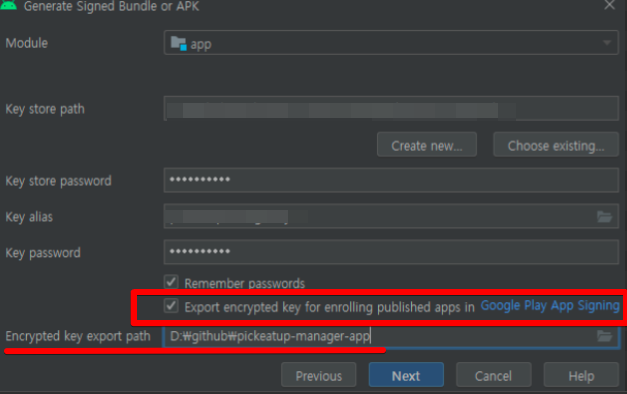
필요한 정보를 다 적고 export encrypted key를 하면 pepk파일이 생성이 된다. 이걸 play store에 올려줘야한다.
-
command pepk 생성 jar파일을 다운받아서 생성하면 된다. 자세한 내요은 https://stackoverflow.com/questions/44103024/how-to-enable-google-play-app-signing 참고
Play Store 콘솔에 업로드
-
앱서명 페이지에 간다 https://play.google.com/apps/publish
-
안드로이드 스튜디오에서 내보낸 키를 업로드 한다.
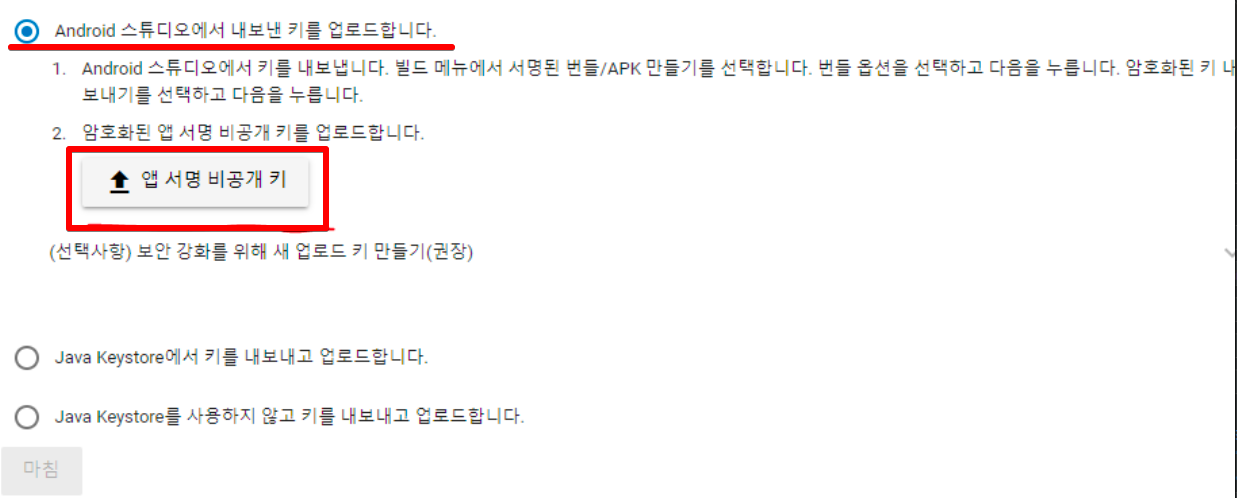
pepk파일을 업로드 하면 된다.
signed abb 파일 생성
abb 생성 (unsigned)
cd project-directory
ionic build --configuration=production && npx cap copy android && npx cap update android
cd android
chmod +x ./gradlew
./gradlew bundleRelease
./android/app/build/outputs/bundle/release/app-release.aab 요기에 생성됨.
abb 생성 (signed)
./android/keystore.properties파일을 생성한다.
storeFile=myStoreFileLocation
storePassword=myStorePassword
keyPassword=mykeyPassword
keyAlias=myKeyAlias
./android/app/build.gradle 파일에서 keystore.properties 파일을 로드하는 코드를 android {} 블록 앞에 추가합니다.
// Create a variable called keystorePropertiesFile, and initialize it to your
// keystore.properties file, in the rootProject folder.
def keystorePropertiesFile = rootProject.file("keystore.properties")

// Initialize a new Properties() object called keystoreProperties.
def keystoreProperties = new Properties()

// Load your keystore.properties file into the keystoreProperties object.
keystoreProperties.load(new FileInputStream(keystorePropertiesFile))

android {
    defaultConfig {
      ...
    }
    // 아래 전체 추가
    signingConfigs {
      release {
        storeFile file(keystoreProperties['storeFile'])
        storePassword keystoreProperties['storePassword']
        keyPassword keystoreProperties['keyPassword']
        keyAlias keystoreProperties['keyAlias']
      }
    }

    buildTypes {
      release {
        signingConfig signingConfigs.release // 추가
        ...
      }
    }
}
./gradlew bundleRelease
빌드되고 사인된 abb가 생성된다.
upload to play store
여기저기 조사해보니 gradle plugin중 playstore에 업로드를 해주는 플러그인(Gradle Play Publisher)이 있어서 사용해보았다.
https://github.com/Triple-T/gradle-play-publisher
3.0.0 과 2.8.0이 사용법이 조금 다르다 주의하기 바란다.
gradle-play-publisher plugin 설치
./android/build.gradle 에 추가
buildscript {

    repositories {
        google()
        jcenter()
        // 추가
        maven { url 'https://plugins.gradle.org/m2/' }
    }
    dependencies {
        classpath 'com.android.tools.build:gradle:4.0.1'
        classpath 'com.android.tools.build:gradle:4.0.1'
        // 추가
        classpath 'com.github.triplet.gradle:play-publisher:2.8.0'
    }
}
./android/app/build.gradle
android(){

}
play {
  track = 'production' // set track for pickeatup like 'dev','production'

  defaultToAppBundles = true // You'll notice that if you run ./gradlew publish, it uploads an APK by default. To change this, default to the App Bundle:
  serviceAccountCredentials = file("google-cloud-service-account.json")

  // 3.0
  // defaultToAppBundles.set(true)
  // serviceAccountCredentials.set(file("google-cloud-service-account.json"))

  resolutionStrategy = "auto" // build버전이 계속 올라간다.
}
google cloud service account
google-cloud-service-account.json 파일을 만들어야한다.
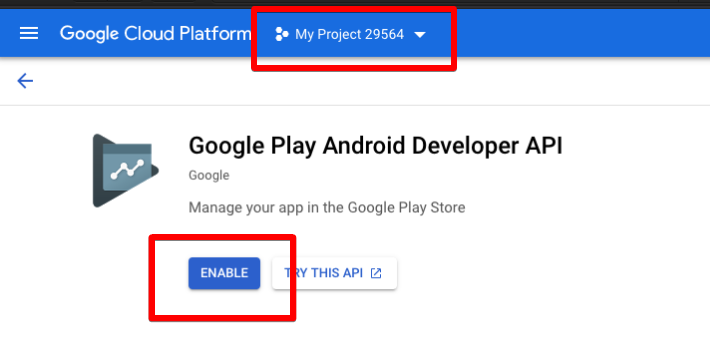
https://console.cloud.google.com/ 에 접속해서 프로젝트를 하나만든다.
https://console.cloud.google.com/apis/library/androidpublisher.googleapis.com 에 접속해서 프로젝트 선택후 enable을 해준다.
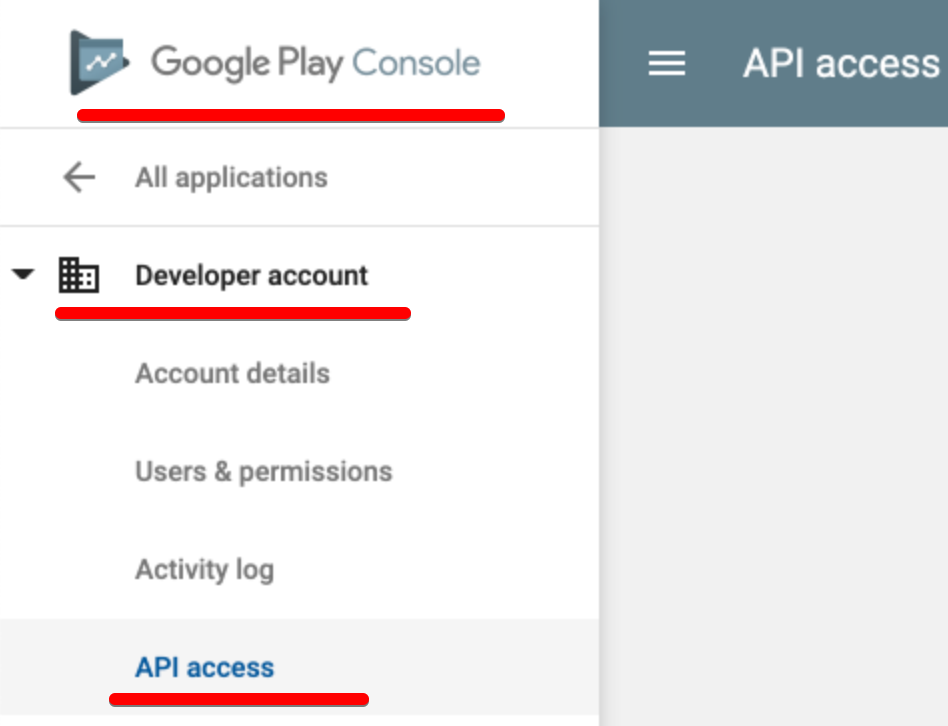
Link your Google Play developer account to your GCP project
https://play.google.com/apps/publish#ApiAccessPlace
에서 api access »
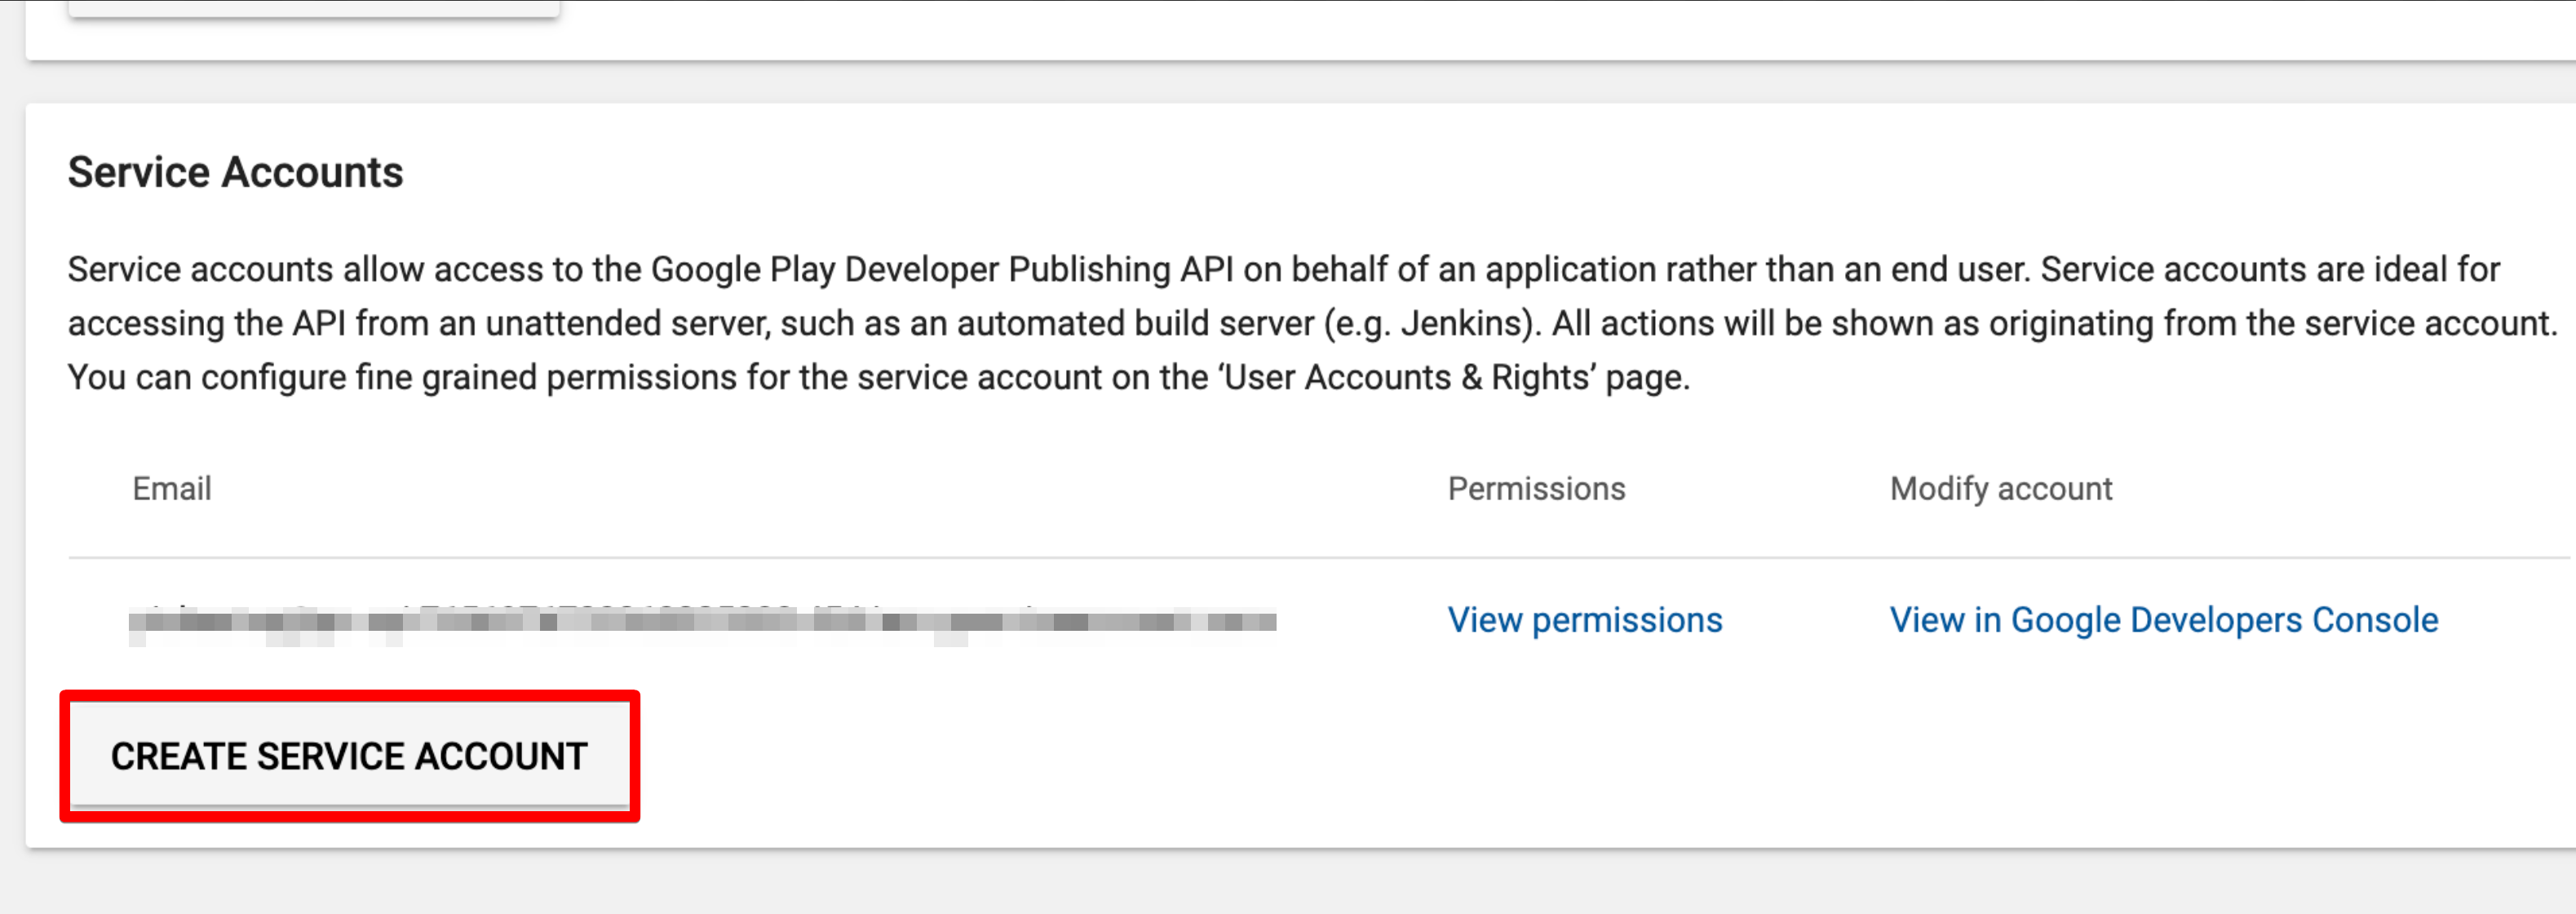
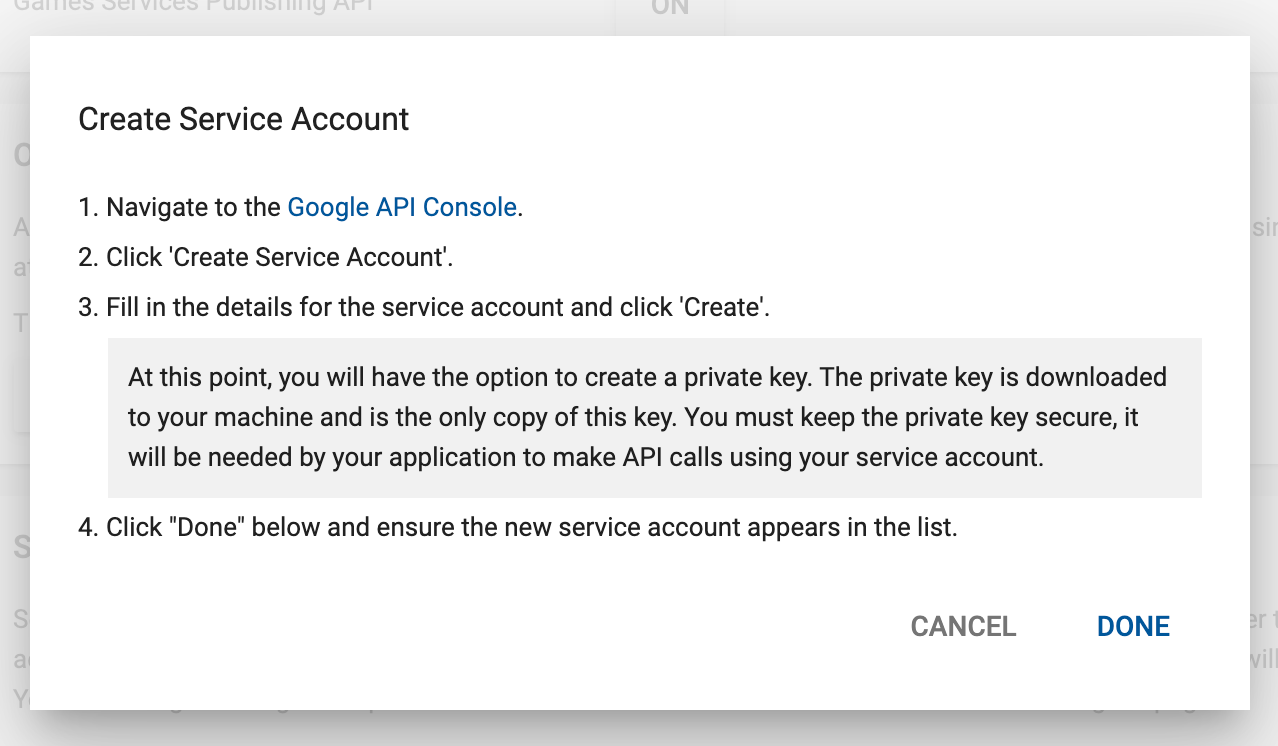
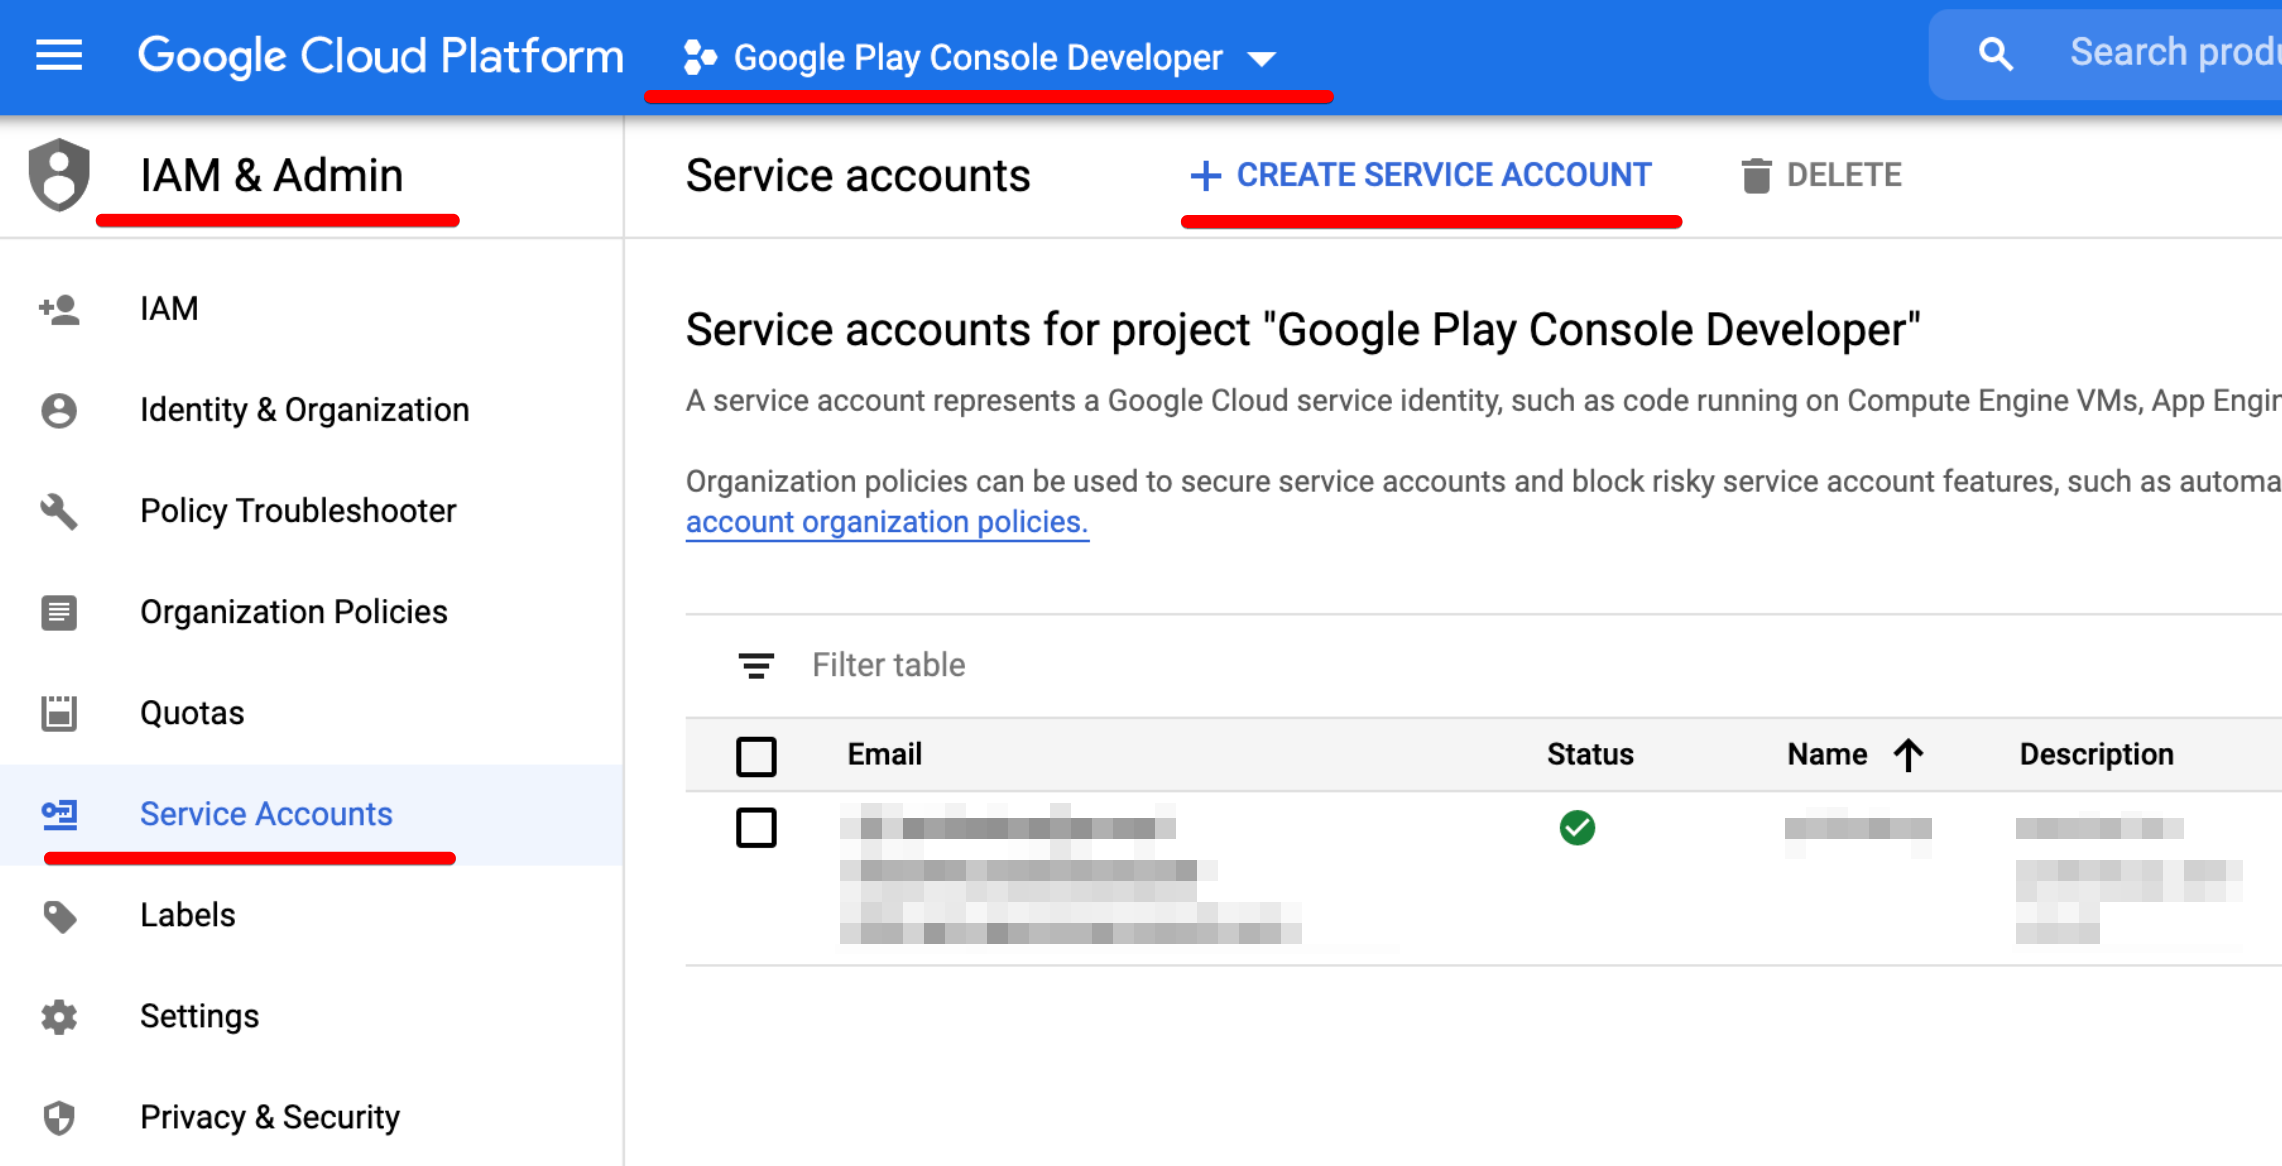
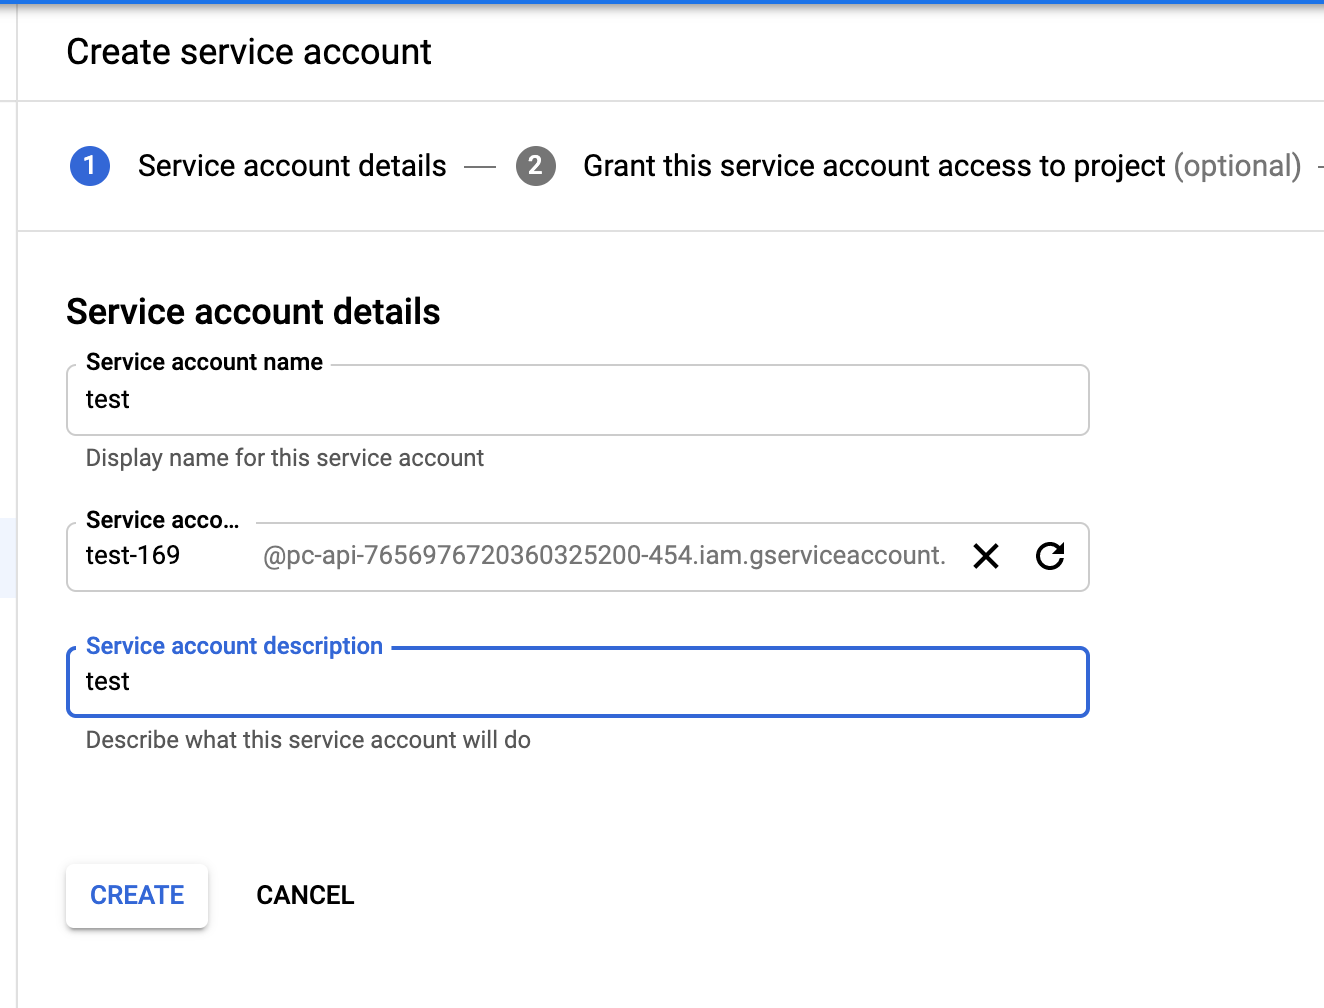
create service account
gradle version upgrade
Triple-T/gradle-play-publisher 가 그레이들 6.2 이상을 요구한다. ionic 최신버전에서는 6.1로 세팅 업데이트하자.
./android/gradle/wrapper/gradle-wrapper.properties
# distributionUrl=https\://services.gradle.org/distributions/gradle-6.1.1-all.zip
distributionUrl=https\://services.gradle.org/distributions/gradle-6.2-all.zip
이제 빌드를 해서 abb파일을 만들고 그걸 업로드해보자.
./gradlew bundleRelease # create abb
./gradlew publishReleaseBundle # upload
잘 된다.
ci/cd 파일로 스크립트 실행
이제 위 내용을 gitlab-ci.yml로 옮겨주면된다.
stages:
  - build

variables:
  GIT_STRATEGY: none

build-ios:
  stage: build

build-ios:
  #...

build-android:
  stage: build

  before_script:
    ## clean the working directory
    - BUILD_DIR=~/builds
    - rm -rf $BUILD_DIR
    - mkdir -p $BUILD_DIR
    - cd $BUILD_DIR
    ## clone
    - git clone ssh://git@gitlab.xgridcolo.com:30022/pickeatup/pickeatup-manager-app.git .

  script:
    - source ~/.nvm/nvm.sh
    - nvm use v12.18.4
    - npm install
    - ionic build --configuration=production && npx cap copy android && npx cap update android
    - cd $BUILD_DIR/android
    - chmod +x ./gradlew
    - ./gradlew bundleRelease
    - ./gradlew publishReleaseBundle
  only:
    - tags
테스트 해보자.
에러가 난다. sdk를 못찾아서다.
환경변수로 넣어주면되겟지만 임시로 local.properties 가 있는 경로에 .gitignore 파일을 확인해서 주석처리해준다.
# Local configuration file (sdk path, etc)
# local.properties
테스트를 다시 해보자.
known error
A problem was found with the configuration of task ':generateEditForNetDotPickeatupDotOwner' (type 'GenerateEdit').

> File '/Users/ragon/Desktop/GitLab/pickeatup/pickeatup-manager-app/android/app/pc-api-765697672036.json' specified for property 'extension.serviceAccountCredentials' does not exist.
구글 서비스 어카운트 json 경로가 잘못되었다. 경로 수정만 하면된다.
- bundle이 사인이 안되있다.
The Android App Bundle was not signed. Please sign the bundle using jarsigner.
이부분을 잘 확인한다.
buildTypes {
        release {
            signingConfig signingConfigs.release #여기
            minifyEnabled false
            proguardFiles getDefaultProguardFile('proguard-android.txt'), 'proguard-rules.pro'
        }
    }
- “message” : “APK specifies a version code that has already been used.”,
버전이 벌써 있다. 버전 수정해서 업로드하면된다. 또는 app/build.gradle에 play함수에 다음 옵션을 추가해주면 자동으로 1씩 증가시켜준다.
resolutionStrategy = "auto"