얼마전 쓴 글이 정리도 잘 안되고 너무 커서 자르고 정리해서 다시 올립니다.
- https://teamsmiley.github.io/2020/09/23/ionic-ci-cd-01-gitlab-runner/
- https://teamsmiley.github.io/2020/09/23/ionic-ci-cd-02-ios/
- https://teamsmiley.github.io/2020/09/23/ionic-ci-cd-03-android/
ios ci/cd
xcode build with command line
xcode에서 archive메뉴를 이용하면 업로드까지 모두 처리가 되게 만든다.
이제 커맨드라인으로 같은 처리를 해야한다. 그래야 gitlab runner가 실행해줄수 있다.
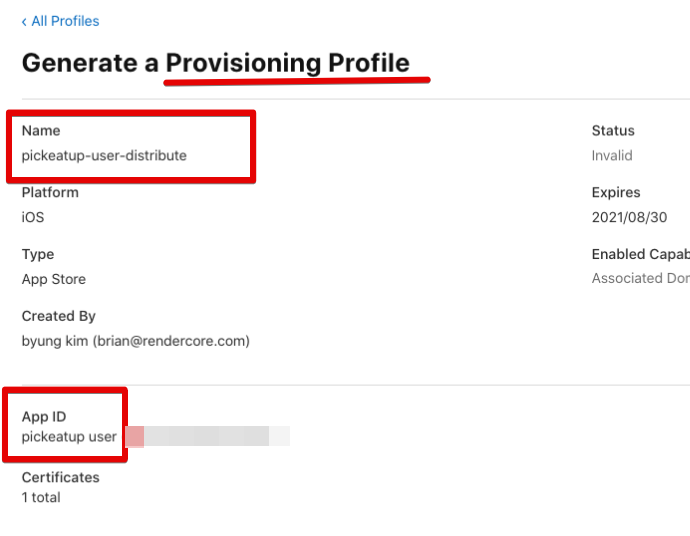
ExportOptions.plist 파일을 만들어야한다.
<?xml version="1.0" encoding="UTF-8"?>
<!DOCTYPE plist PUBLIC "-//Apple//DTD PLIST 1.0//EN" "http://www.apple.com/DTDs/PropertyList-1.0.dtd">
<plist version="1.0">
<dict>
  <key>method</key>
  <string>app-store</string>

  <key>teamID</key>
  <string>YOUR TEAMID</string>

  <key>signingCertificate</key>
  <string>YOUR CERTIFICATION</string>

  <key>provisioningProfiles</key>
  <dict>
    <key>YOUR APP ID</key>
    <string>YOUR PROFILE NAME</string>
  </dict>

  <key>destination</key>
  <string>upload</string>
</dict>
</plist>
method로 app-store를 쓰겟다는것이고(ad hoc등을 사용할수도 있다)
YOUR TEAMID
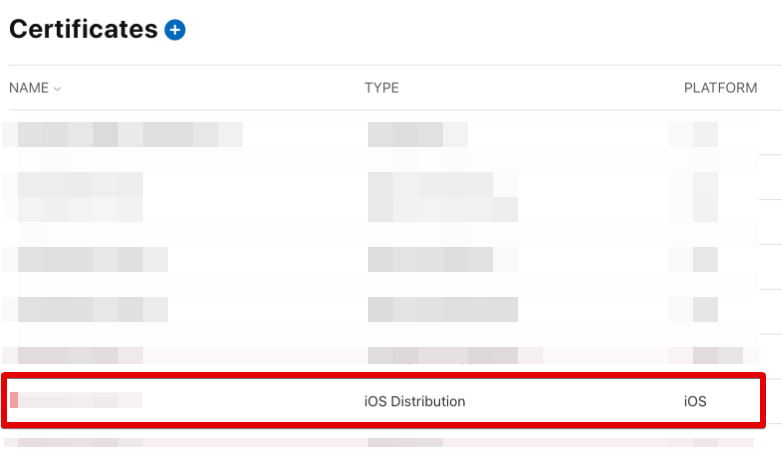
apple distribute용 certification (미리 생성해 두셔야합니다.)
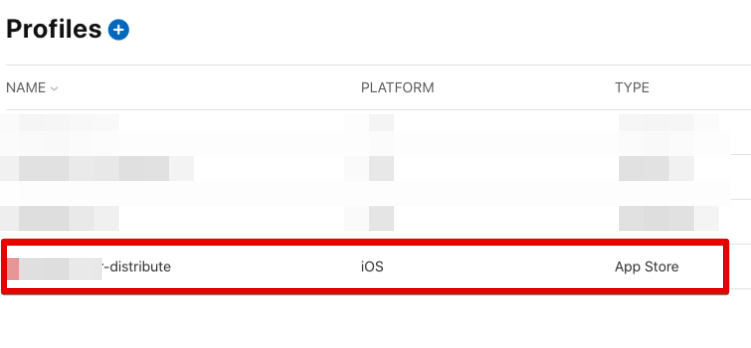
Profile (Type : App Store ) 미리 생성이 되있어야합니다.
이제 터미널에서 빌드하고 업로드해보자.
cd project_directory
npm install
ionic build --configuration=production && npx cap copy ios && npx cap update ios
cd ./ios
xcodebuild -workspace 'App/App.xcworkspace' -scheme 'App' -configuration 'Release' -archivePath tmp.xcarchive archive # build and archive
xcodebuild -exportArchive -archivePath ./tmp.xcarchive -exportOptionsPlist ./ExportOptions.plist -exportPath ./exportIpaArchive/ # upload
아카이브가 잘 되고 업로드도 잘 되면 이제 gitlab runner가 이 스크립트를 실행하게 해주면 됩니다.
혹시 업로드에서 에러가 나면 ExportOptions.plist 파일에서 certification과 profile을 잘 확인
버전 업데이트
MARKETING_VERSION 과 CURRENT_PROJECT_VERSION을 업데이트 해야한다.
package.json에 잇는 버전을 읽어와서 MARKETING_VERSION 변수로 만들어 두고 agvtool 라는 툴을 이용해서 업데이트를 할수가 있다.
agvtool 툴이 소스코드에 현재 있는 CURRENT_PROJECT_VERSION값이 5면 실행하면 6으로 만들어 준다 그러나 내 개발컴퓨터에는 여전히 5로 되어있다.
바뀐값을 git에 올려줘야한다.
gitlab runner 에서 commit/push하기
문제는 gitlab runner는 기본적으로 https를 통해서 git clone을 받는다. https는 커밋이 안된다. ssh를 사용해야 한다.
variables:
  GIT_STRATEGY: none
이렇게 하면 자동으로 clone을 하지 않는다. 이제 수동으로 클론을 하고 난후 빌드를 진행하면된다.
태깅을 햇을때만 ci/cd가 실행되게 하자.
ci/cd 파일로 스크립트 실행
전체 .gitlab-ci.yml파일은 아래와 같다.
stages:
  - build

variables:
  GIT_STRATEGY: none

build-staging:
  stage: build

  before_script:
    ## clean the working directory
    - BUILD_DIR=~/builds/
    - rm -rf $BUILD_DIR
    - mkdir -p $BUILD_DIR
    - cd $BUILD_DIR
    ## clone
    - git clone ssh://git@gitlab.xgridcolo.com:30022/pickeatup/pickeatup-manager-app.git .

  script:
    ## nvm을 사용시
    # - source ~/.nvm/nvm.sh
    # - nvm use v12.18.4
    - npm install
    - ionic build --configuration=production && npx cap copy ios && npx cap update ios
    ## package.json에 version값을 변수로 만듬
    - export MARKETING_VERSION=$(node -p -e "require('./package.json').version")
    - cd $BUILD_DIR/ios/App
    - xcrun agvtool new-marketing-version $MARKETING_VERSION # marketing version set
    - xcrun agvtool next-version -all # 빌드 버전을 하나 올려줌
    - git commit -am next-version # 바뀐 빌드버전을 커밋
    - git push origin HEAD:dev # 커밋된 내용을 dev 브랜치에 커밋 다른 브랜치 쓰시면 그걸로 변경
    - cd $BUILD_DIR/ios
    - xcodebuild -workspace 'App/App.xcworkspace' -scheme 'App' -configuration 'Release' -archivePath tmp.xcarchive archive # archive
    - xcodebuild -exportArchive -archivePath ./tmp.xcarchive -exportOptionsPlist ./ExportOptions.plist -exportPath ./exportIpaArchive/ # upload to testflight
  only:
    - tags #tagging시에만 ci/cd가 실행
이제 commit/tagging/push하면 ci/cd가 실행되면서 빌드/업로드가 완료된다.
파일이 test flight에 업로드 되면 이걸 https://appstoreconnect.apple.com/ 웹사이트를 통해서 퍼블리시 하면 된다.
known error
-
TestFlight에 기존에 있는 버전과 같은 버전을 사용하면 업로드시 에러가 난다. 기존 버전을 지우고 다시해보자.
-
macos가 슬립모드로 안들어가게 해야 항상 빌드가 된다.
sudo pmset -c disablesleep 1
- Error Domain=DVTPortalServiceErrorDomain Code=1100 “Your session has expired. Please log in.” xcode를 실행해 두고 ci를 트리거한다.