이어지는 글 입니다.
- https://teamsmiley.github.io/2020/09/30/kubespray-01-vagrant/
- https://teamsmiley.github.io/2020/10/01/kubespray-02-install-kube-local-internal-loadbalancer/
- https://teamsmiley.github.io/2020/10/02/kubespray-03-kube-with-haproxy/
- https://teamsmiley.github.io/2020/10/04/kubernetes-multi-cluster/
- https://teamsmiley.github.io/2020/10/05/kubernetes-cert-manager/
- https://teamsmiley.github.io/2020/10/06/kubernetes-metallb-ingress-nginx/
- https://teamsmiley.github.io/2020/10/06/kubernetes-helm/
- https://teamsmiley.github.io/2020/10/08/kubernetes-prometheus-grafana/
- https://teamsmiley.github.io/2020/10/08/kubernetes-log/
- https://teamsmiley.github.io/2020/10/10/kubernetes-backup-velero/
쿠버네티스 백업 - velero
구성도
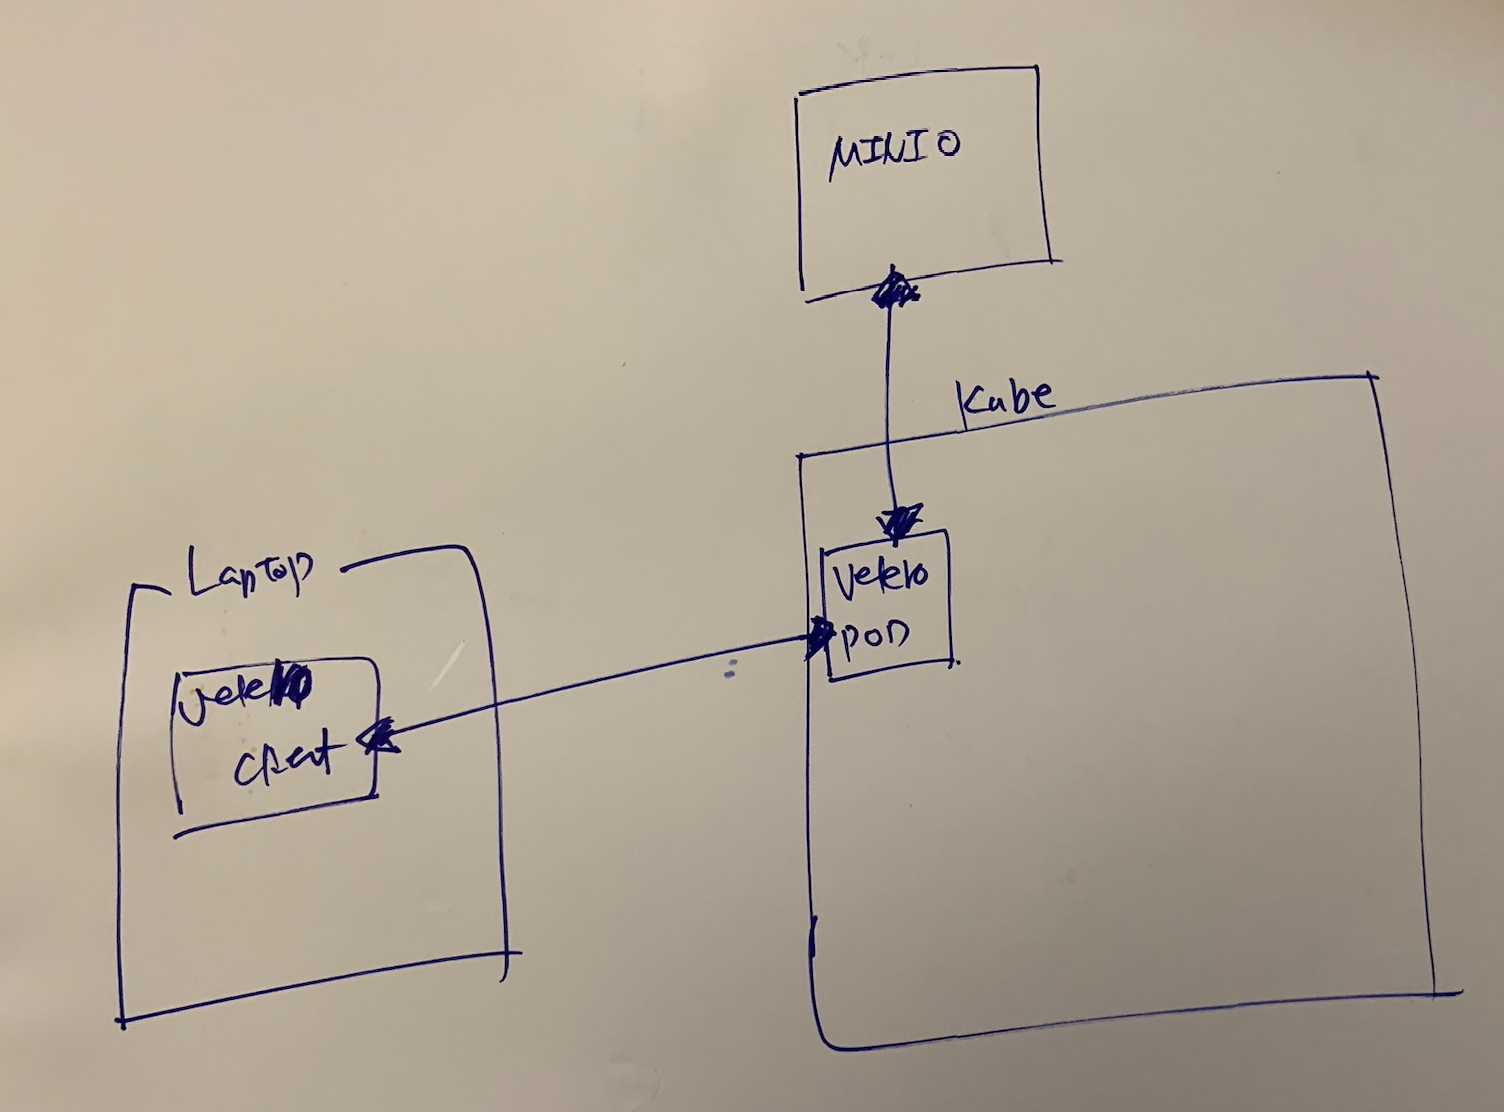
minio에 백업 데이터를 저장한다.
velero client는 랩탑에 설치하고 이걸 이용해서 kube에 pod를 디플로이하면 이 pod가 백업을 받아서 minio로 올려주는 역할을 한다.
minio
백업 데이터를 minio에 직접 보낸다. 알아서 설치해두도록 하고 aws_access_key_id/aws_secret_access_key 를 알고 있어야한다.
minio에서 bucket을 velero라는 이름으로 만들어 줬다.
install velero client
brew install velero
install velero server (on kube cluster)
credentials-velero
cat <<EOF > credentials-velero
[default]
aws_access_key_id=yourid
aws_secret_access_key=yourkey
EOF
deploy server
velero install \
    --provider aws \
    --plugins velero/velero-plugin-for-aws:v1.0.0 \
    --bucket velero \
    --secret-file ./credentials-velero \
    --use-volume-snapshots=false \
    --backup-location-config region=minio,s3ForcePathStyle="true",s3Url=http://192.168.0.30:9000
Velero is installed! ⛵ Use 'kubectl logs deployment/velero -n velero' to view the status.
velero namespace를 만들면서 다 설치를 한다.
# k get pod
NAME                      READY   STATUS    RESTARTS   AGE
velero-54bdf48d57-8z5nd   1/1     Running   0          47s
delete velero on kube
kcuc c3
kubectl delete namespace/velero clusterrolebinding/velero
kubectl delete crds -l component=velero
backup
velero backup get #하나도 없음

kubectl create namespace testing

kubectl -n testing run nginx --image nginx --replicas 2

velero backup create testing-backup --include-namespaces=testing

velero backup describe testing-backup

velero backup logs testing-backup

velero backup get
–include-namespace 없으면 전체다 백업
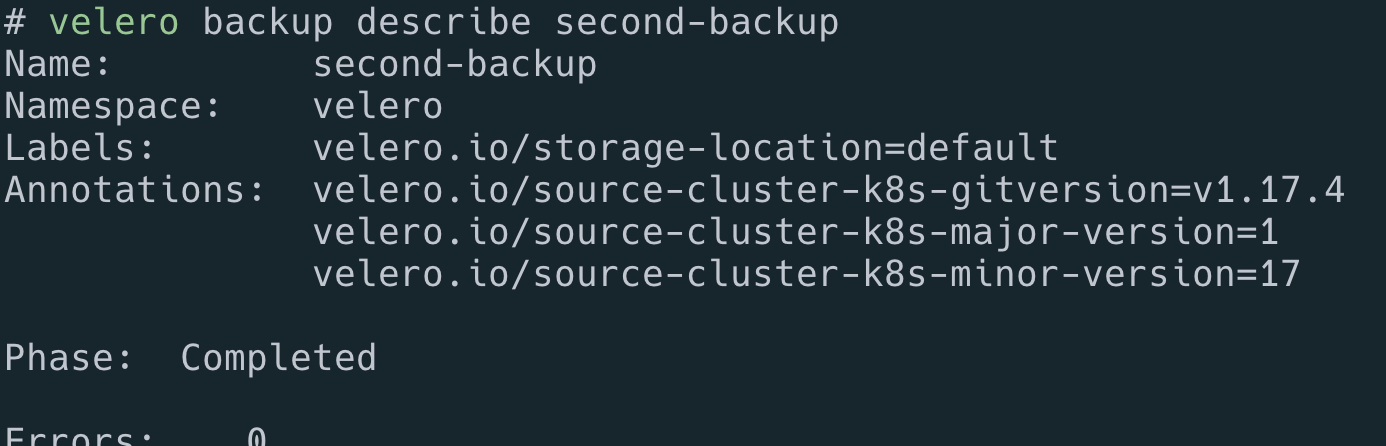
complete이다.
ttl은 720시간인데 약 30일을 이야기한다.
minio에 백업됫나 확인
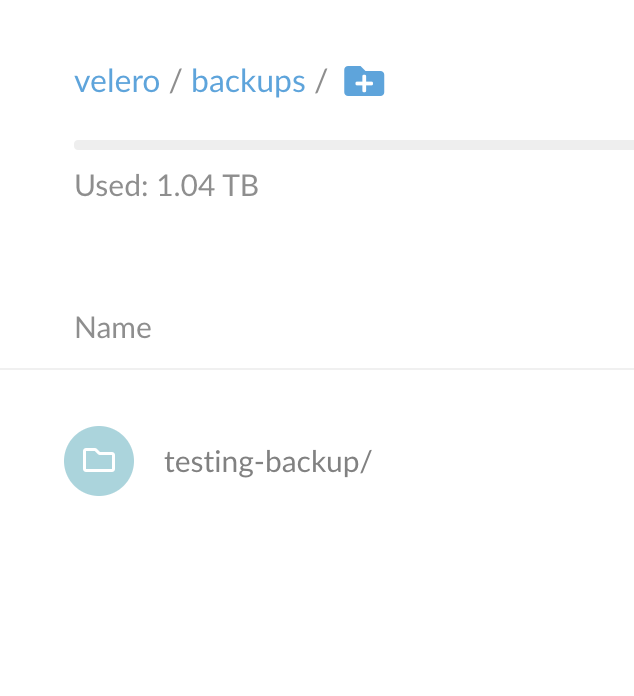
잘 들어왔다.
문제를 만들어보자.
kubectl delete namespaces testing
kubectl get ns #testing이 없음
Restore
velero restore get #아무것도 없음
velero restore create testing-backup-restore --from-backup testing-backup
velero restore describe testing-backup-restore
velero restore logs testing-backup-restore
kubectl get ns
> testing           Active   34s

kubectl get pod -n testing
> NAME    READY   STATUS    RESTARTS   AGE
> nginx   1/1     Running   0          39s
복구가 잘 되었다.
스케줄을 이용해보자.
velero schedule get # 아무것도 없다.
velero schedule create daily-schedule --schedule="0 0 * * *" # --include-namespaces testing
#velero schedule create daily-schedule --schedule="@every 1d" --ttl 10d
–include-namespaces가 없으면 전체 네임스페이스를 백업한다.
velero schedule get
velero schedule describe daily-schedule
내일 백업이 됬는지 확인하자.
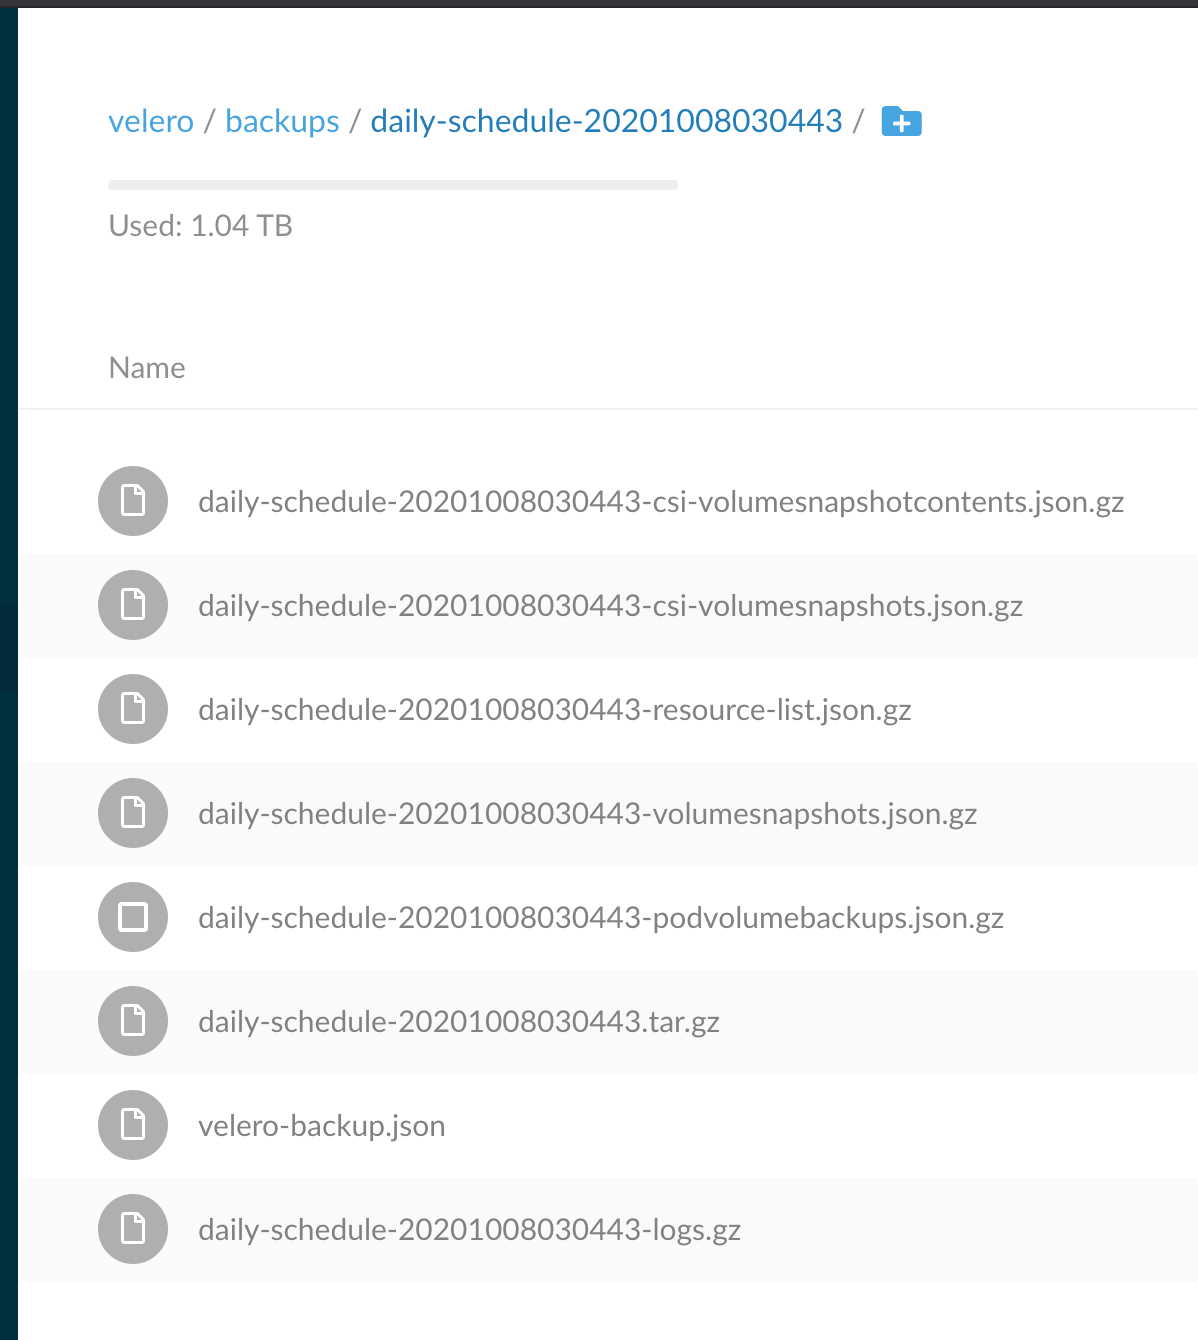
잘 됬다.