aws-openvpn
한국 서비스를 이용하고싶으신분은 꼭 리전을 한국으로 하시기 바랍니다.
Create EC2
ec2
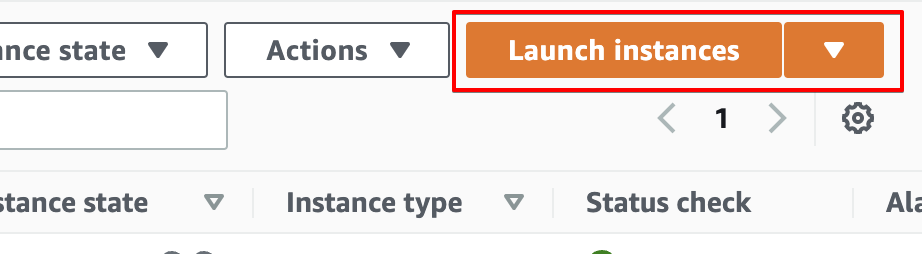
launch instance
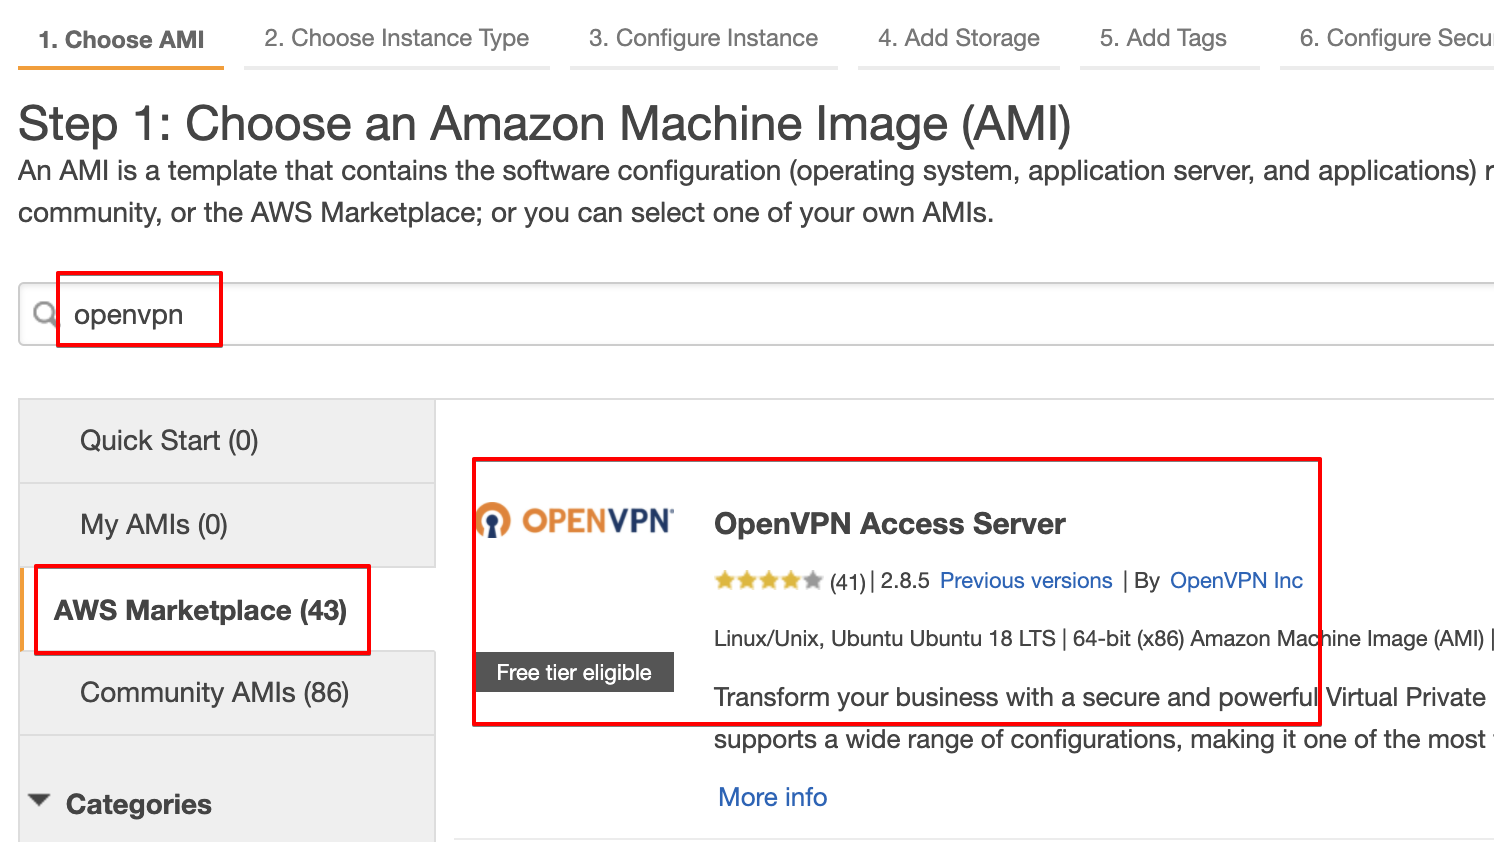
openvpn 으로 검색 market place 클릭 그림에 나온거 선택 > continue > t2.micro 선택.
원하는 vpc 선택 > 다음 > 다음 > create new security group > 기본값으로 다음
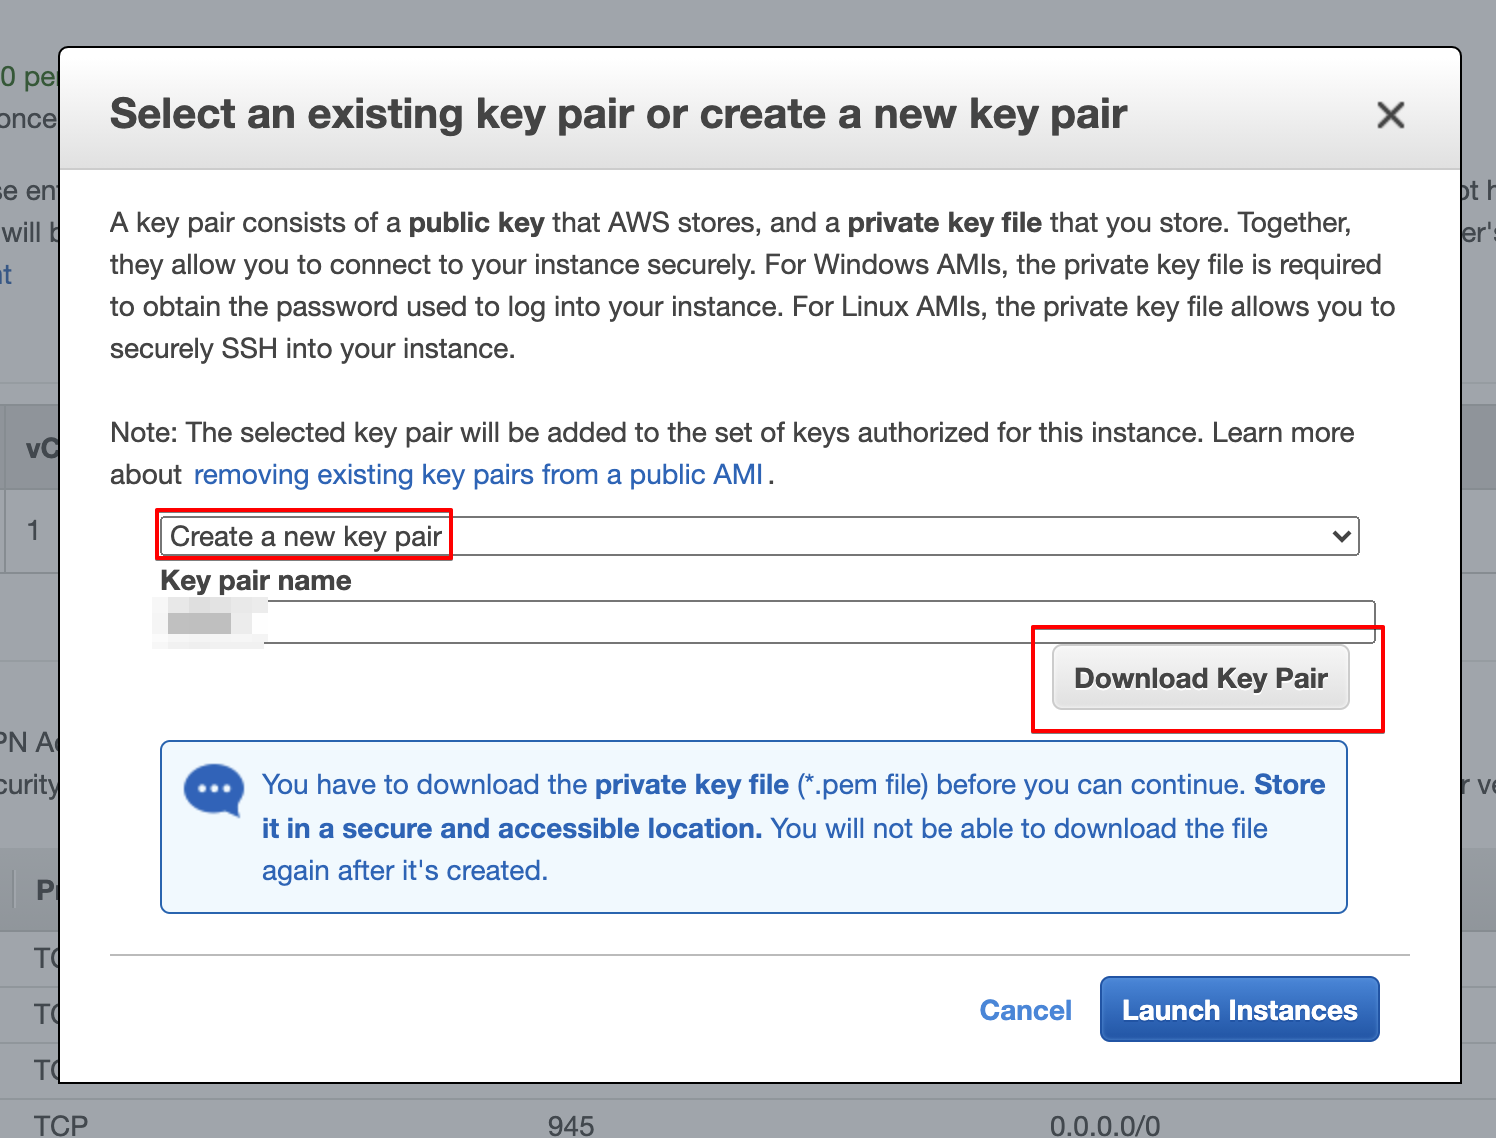
new keypair 생성후 다운로드
instance 이름을 openvpn으로 했다.
elastic ip
하나 할당받아서 인스턴스에 attach해주면된다. 이름은 openvpn으로 햇다.
ssh
chmod 600 aws.pem
ssh openvpnas@YourIP -i aws.pem
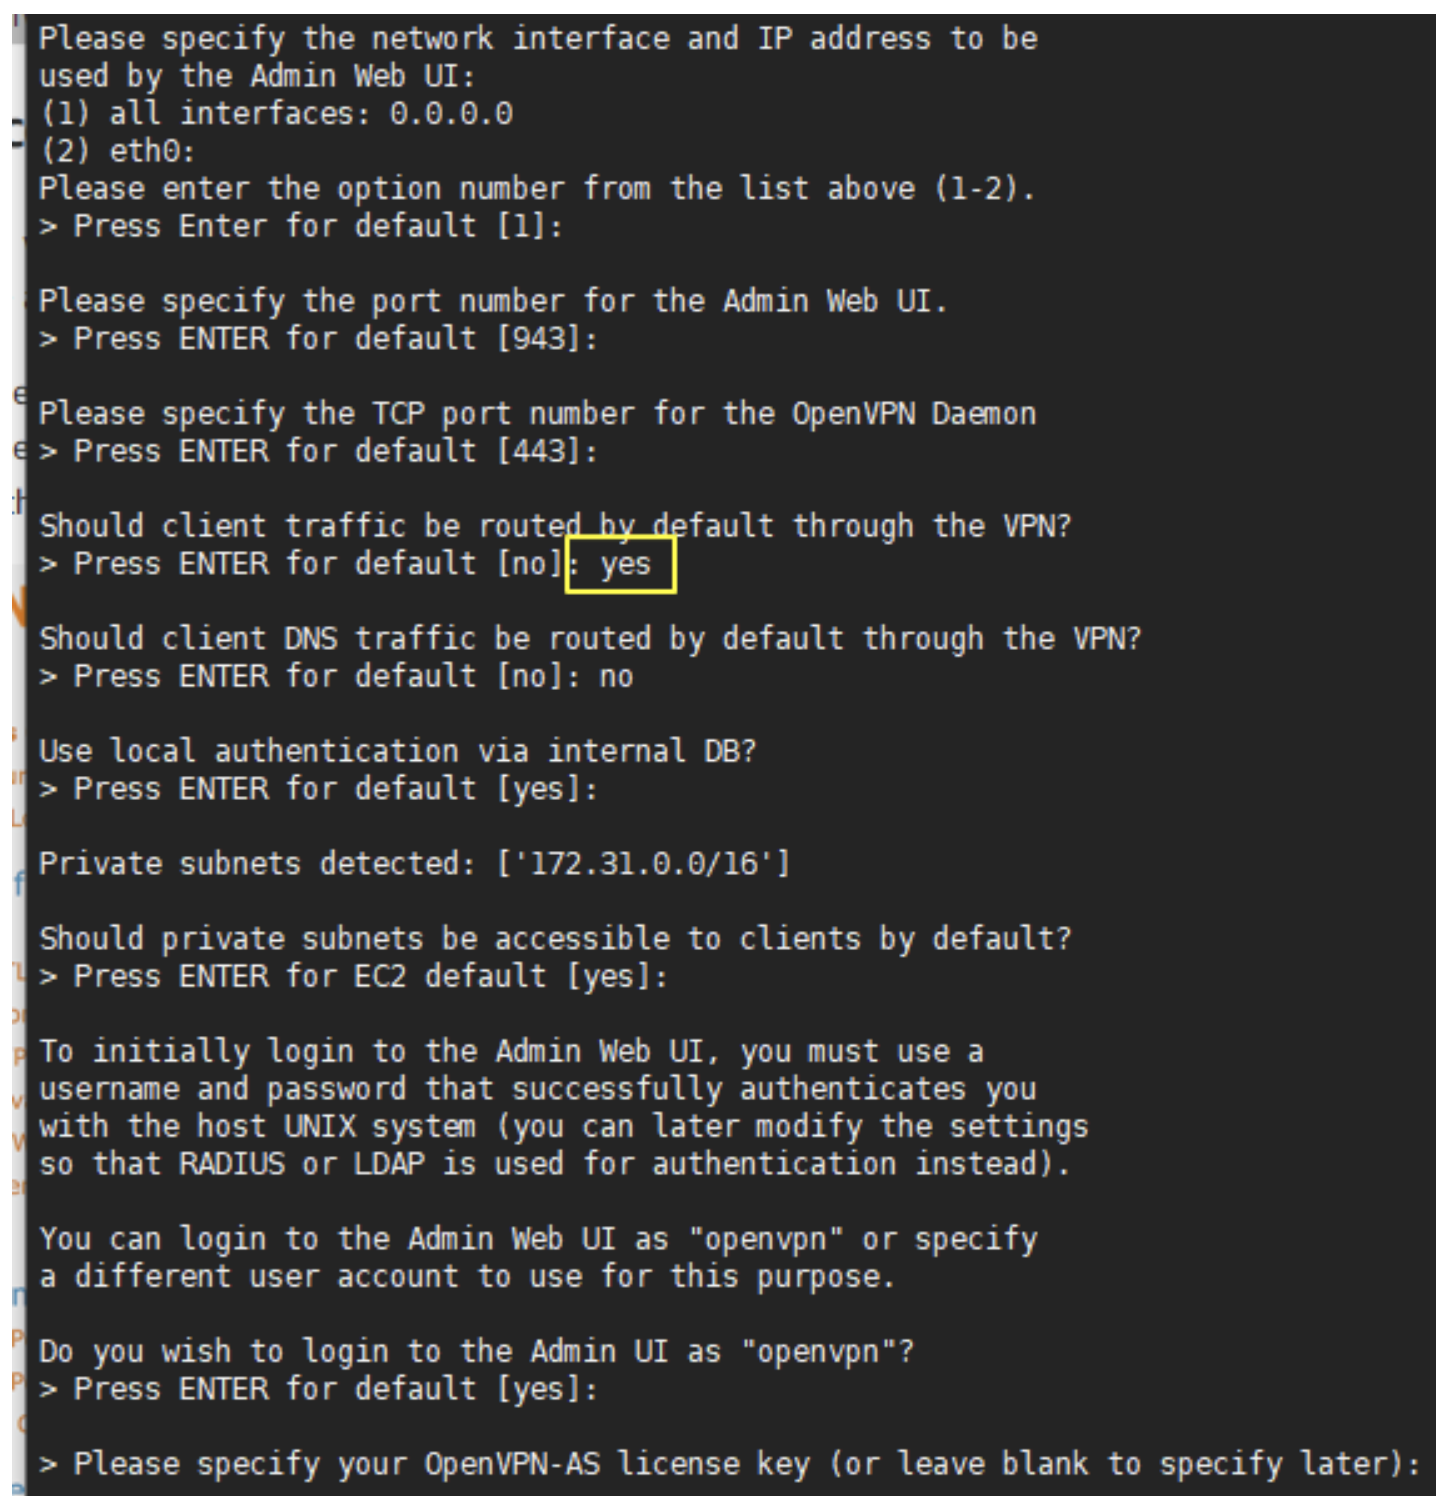
# 로그인하자마자 설정을 해야한다.
> yes
# 기본값으로 하다가 하나만 변경
다 설정되면
NOTE: Your system clock must be correct for OpenVPN Access Server
to perform correctly.  Please ensure that your time and date
are correct on this system.

Initial Configuration Complete!

You can now continue configuring OpenVPN Access Server by
directing your Web browser to this URL:

https://YourIP:943/admin
Login as "openvpn" with the same password used to authenticate
to this UNIX host.

During normal operation, OpenVPN AS can be accessed via these URLs:
Admin  UI: https://YourIP:943/admin
Client UI: https://YourIP:943/

See the Release Notes for this release at:
   https://openvpn.net/vpn-server-resources/release-notes/
passwd openvpn
비번을 원하는걸로 변경한다.
브라우저를 열고 로그인한다.
여기서 관리가 된다.
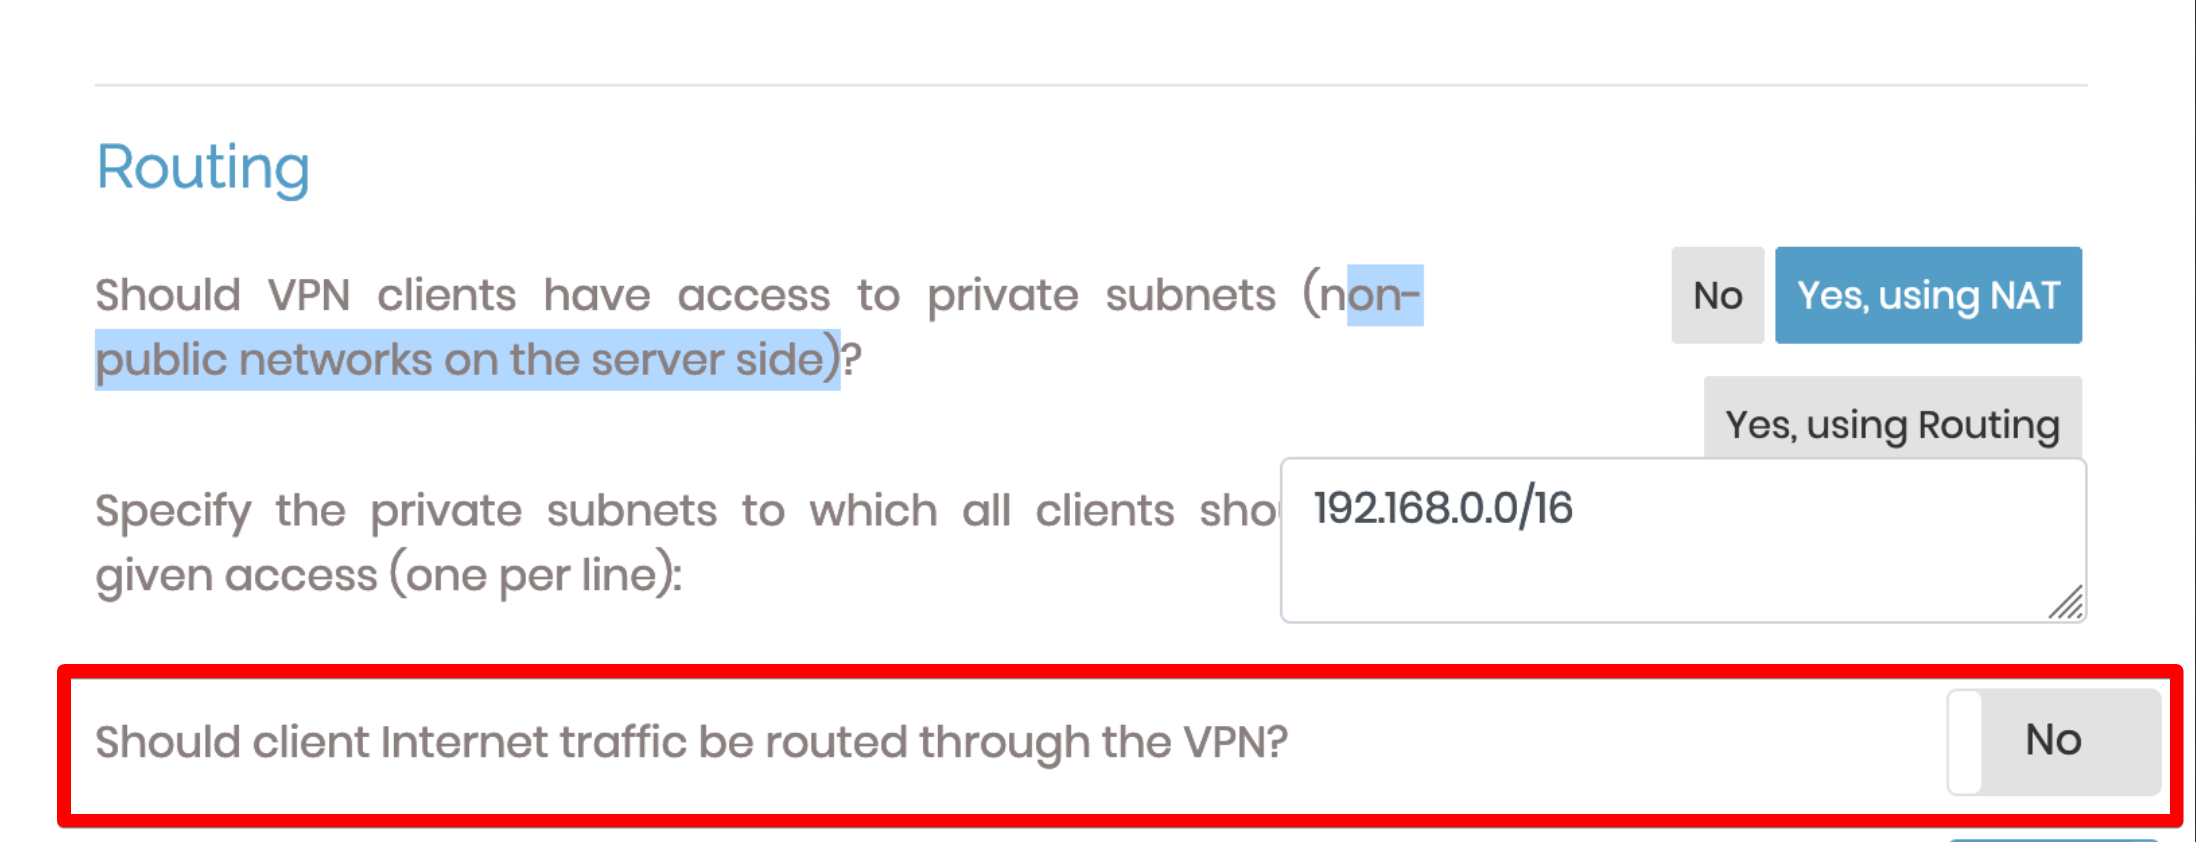
모든 트래픽을 vpn을 통해서 보내고 싶은경우(대부분의 경우) 잘 안되면 다음 설정을 확인해본다. yes가 되야한다.
접속파일
https://YourIP:943/
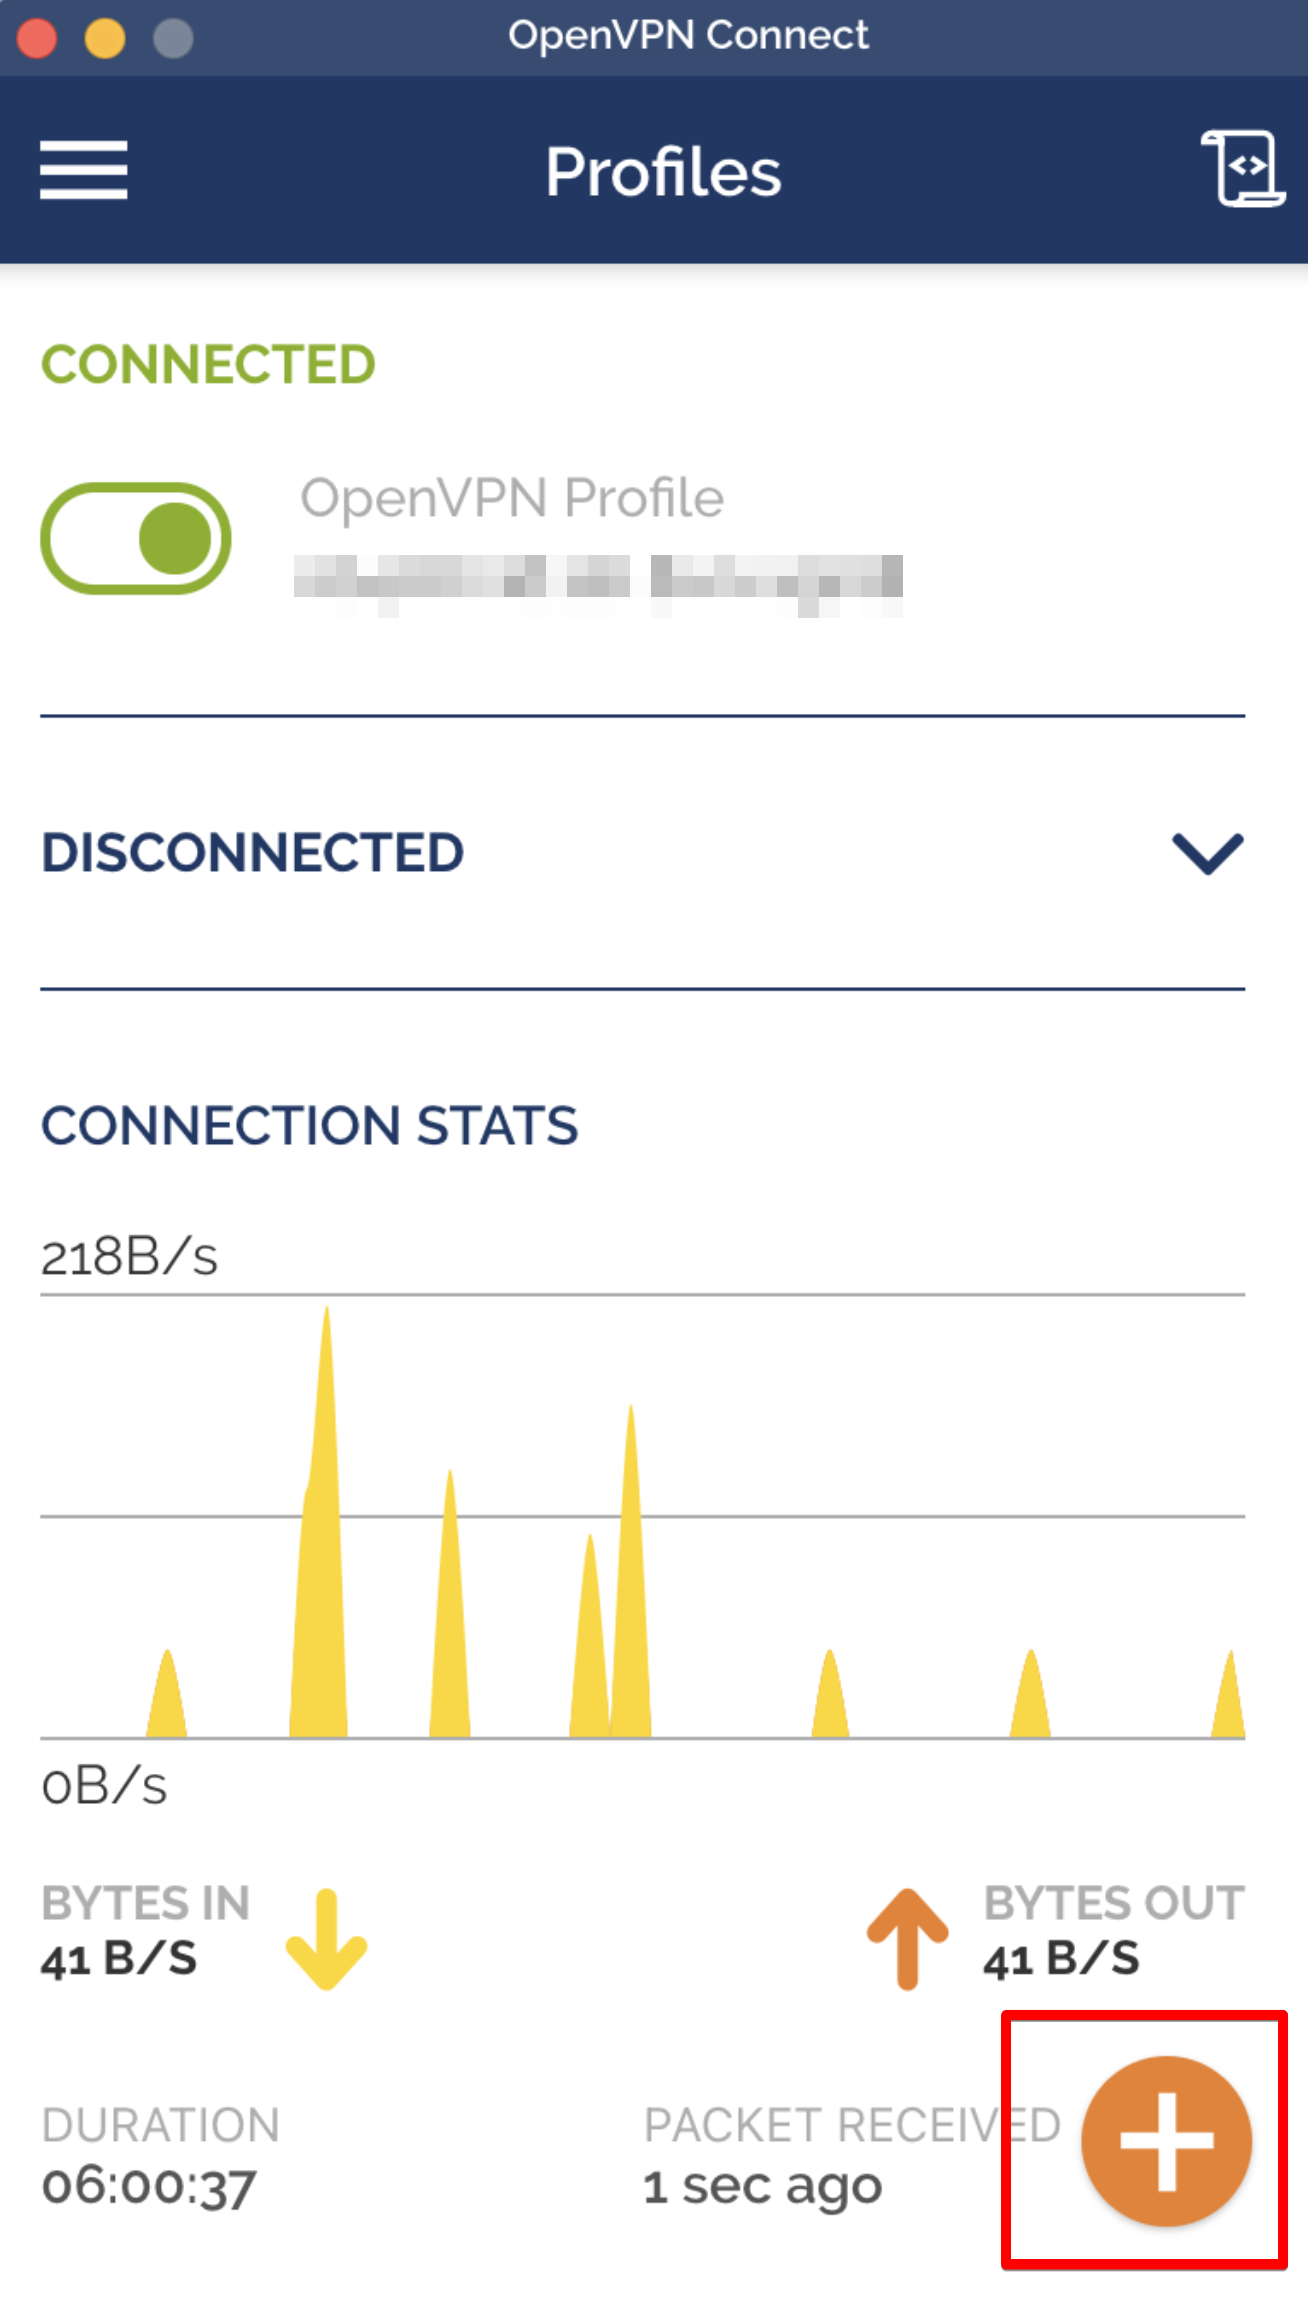
로그인하면 다음 화면이 나온다.

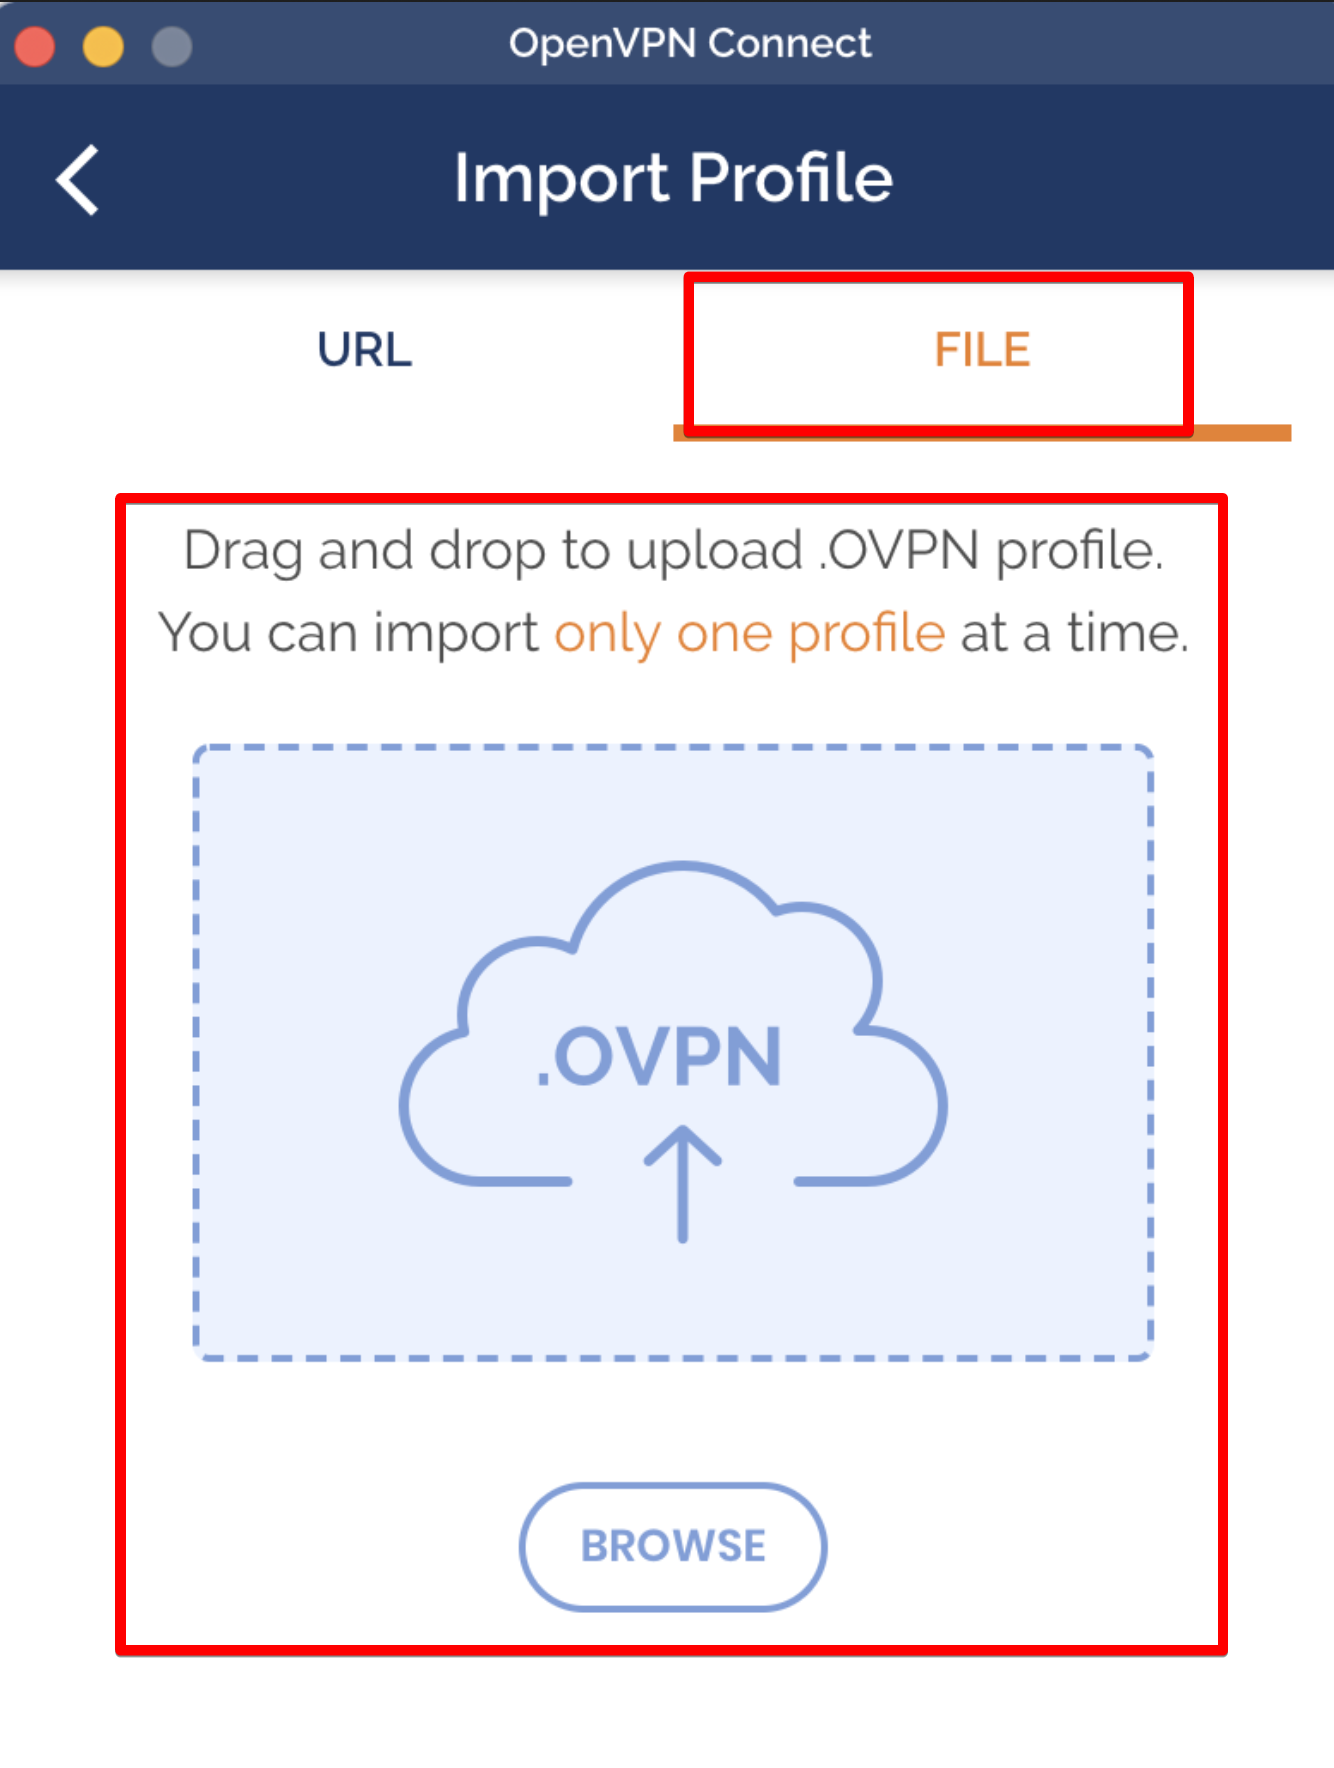
available connection profile을 클릭해서 접속 파일을 받아보자.
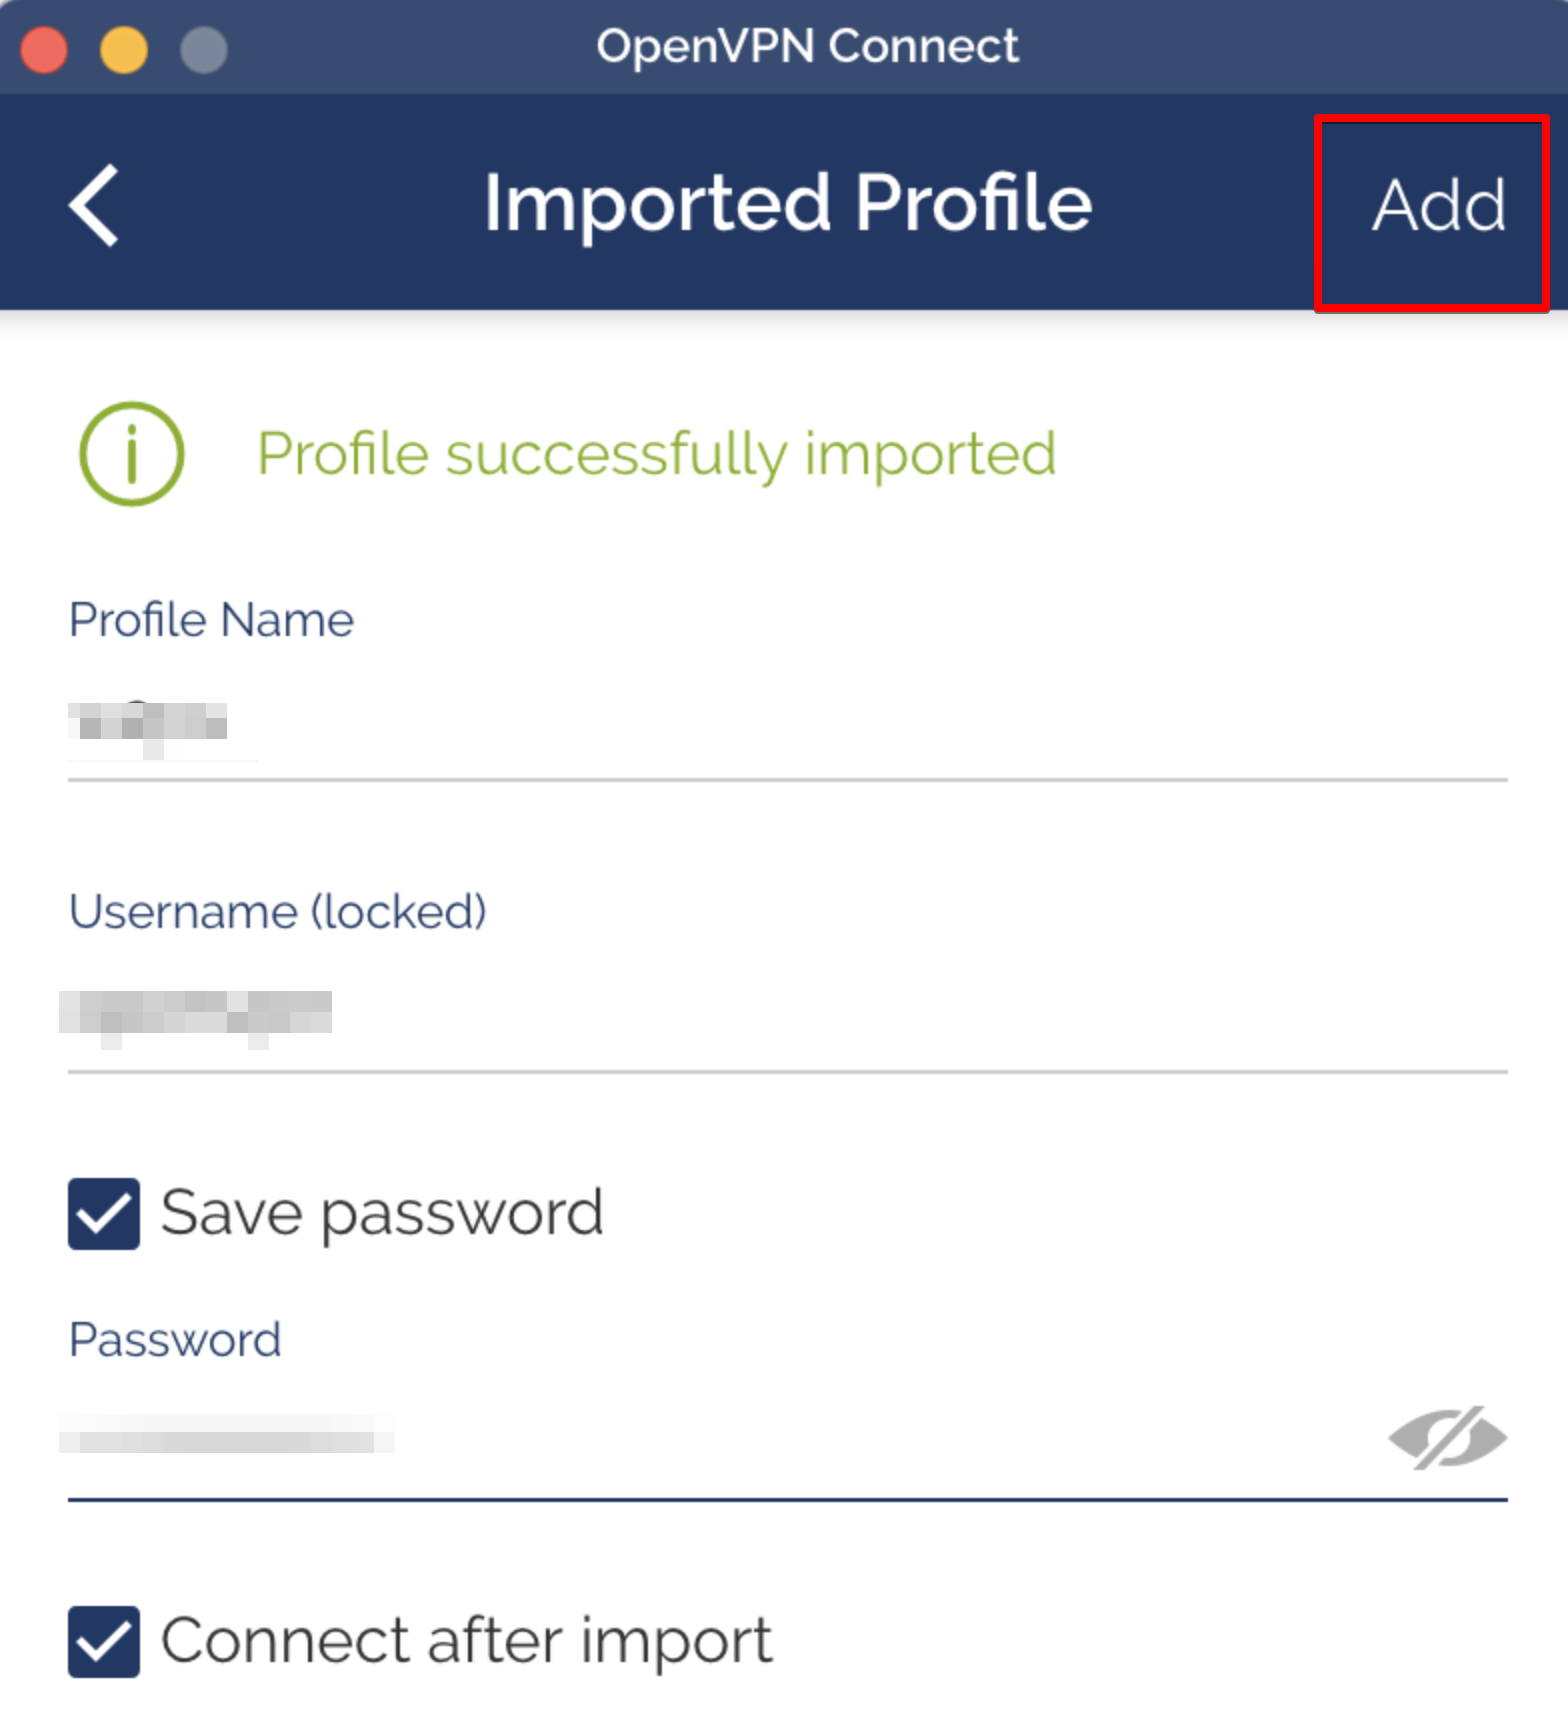
client.ovpn 을 openvpn에서 사용하면 된다.
vpn을 한국 리전에 만들면 play.watcha.com을 볼수가 있다.